App Store
Introduction
App Store serves a purpose of publishing locally developed apps with their versions and redistributing them to other namespaces.
App version developed on any namespace can be submitted to an App Store as release candidate. Release candidate can be tested on an App Store and the key user decides if it can be approved and released as official app version or rejected, because it's not yet ready. Released app versions are installable on any namespace which is connected to an App Store.
Namespace connected to App Store can:
- submit release candidate - app version is published to an App Store as release candidate.
- install app version - install released app version on namespace.
Instructions how to connect any namespace to an App Store can be found in Connect Namespace to App Store section.
App Store is located on e1-master namespace and the app management is slightly different than on any other namespace:
- stores only release candidates and released versions of any published app.
- apps on App Store are read-only and the only one way to alter live state of an app is to restore specific app version (setting it as live).
- released app versions cannot be deleted from an App Store.
Instructions how to get an access to an App Store (e1-master) namespace, in order to manage apps' releases, can be found in Get Access to App Store Namespace section.
App Store users can:
- approve version - submitted release candidate is accepted and released as official app version, making it installable on the namespaces connected to an App Store.
- reject version - submitted release candidate is rejected and removed from App Store.
- lock submitting release candidates - prevents submitting release candidates for the specific app.
- access app's release log - see when and by who the app's release candidates were submitted, approved or rejected.
- access app's installations - see on which namespaces the app is installed.
Connect Namespace to App Store
Marketplace namespaces are connected to an App Store (e1-master) by default. To connect your custom namespace:
- request App Store's API key from dev team, e.g. use Germanedge's
#edge1_devSlack channel. - on namespace that needs to be connected to App Store, go to Platform administration, find UPW config under
config/upw,platform/datain Consul key-value store and click edit action:

- save provided API key under
app-store → tokenproperty and click Save:
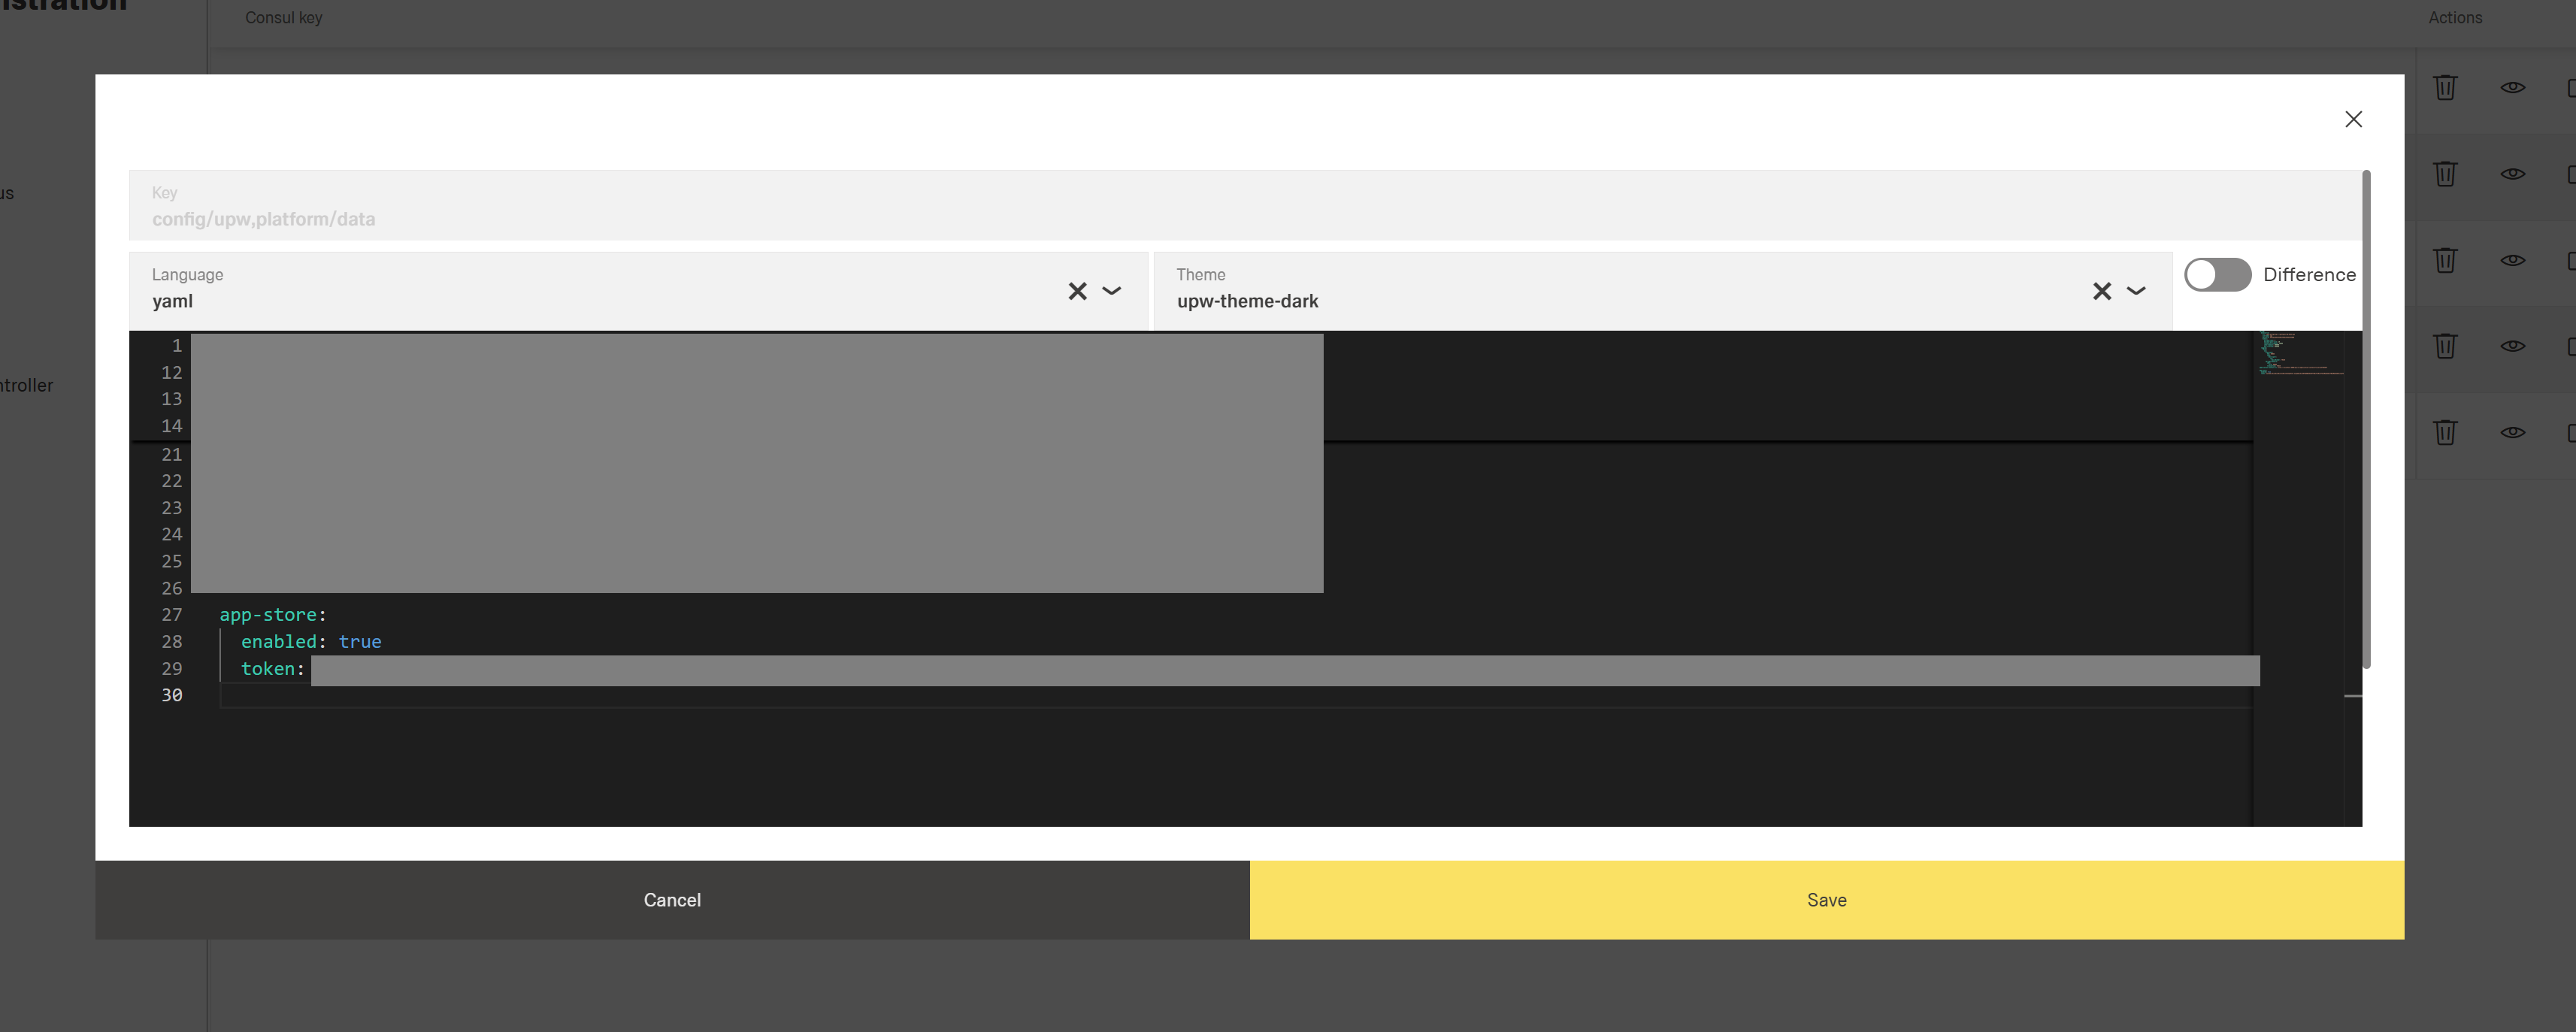
UPW service should restart and if everything goes well, namespace will be connected to App Store and related actions will be enabled (submitting release candidates and installing released app versions).
If there is a need to disable App Store integration on specific namespace, set app-store → enabled to false in UPW config (true by default).
Get Access to App Store Namespace
To manage apps' release process on App Store, request a user account for an App Store (e1-master) namespace on Germanedge's #edge1_dev Slack channel.
Submit Release Candidate
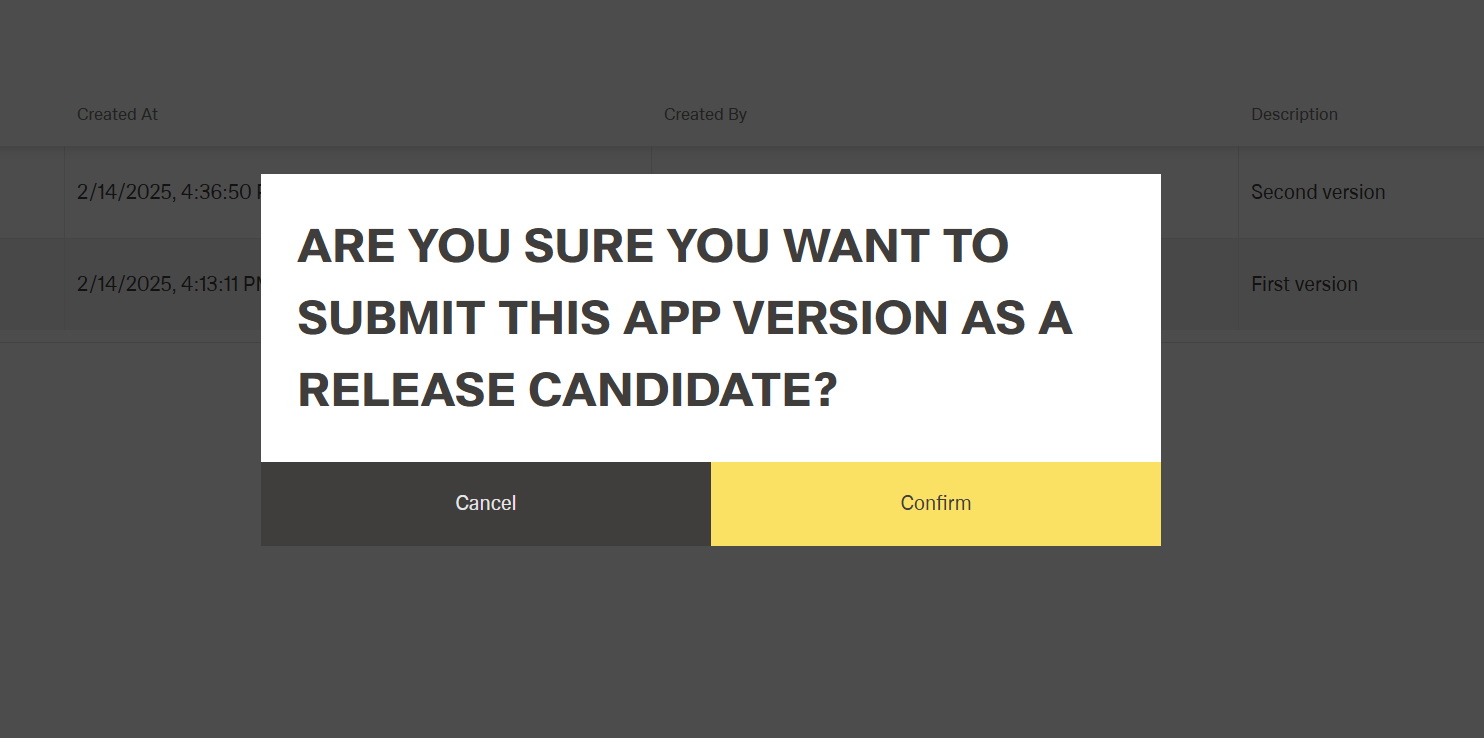
To submit the app version as release candidate to App Store, click Submit Release Candidate action on specific app version:

Confirmation dialog will pop up:
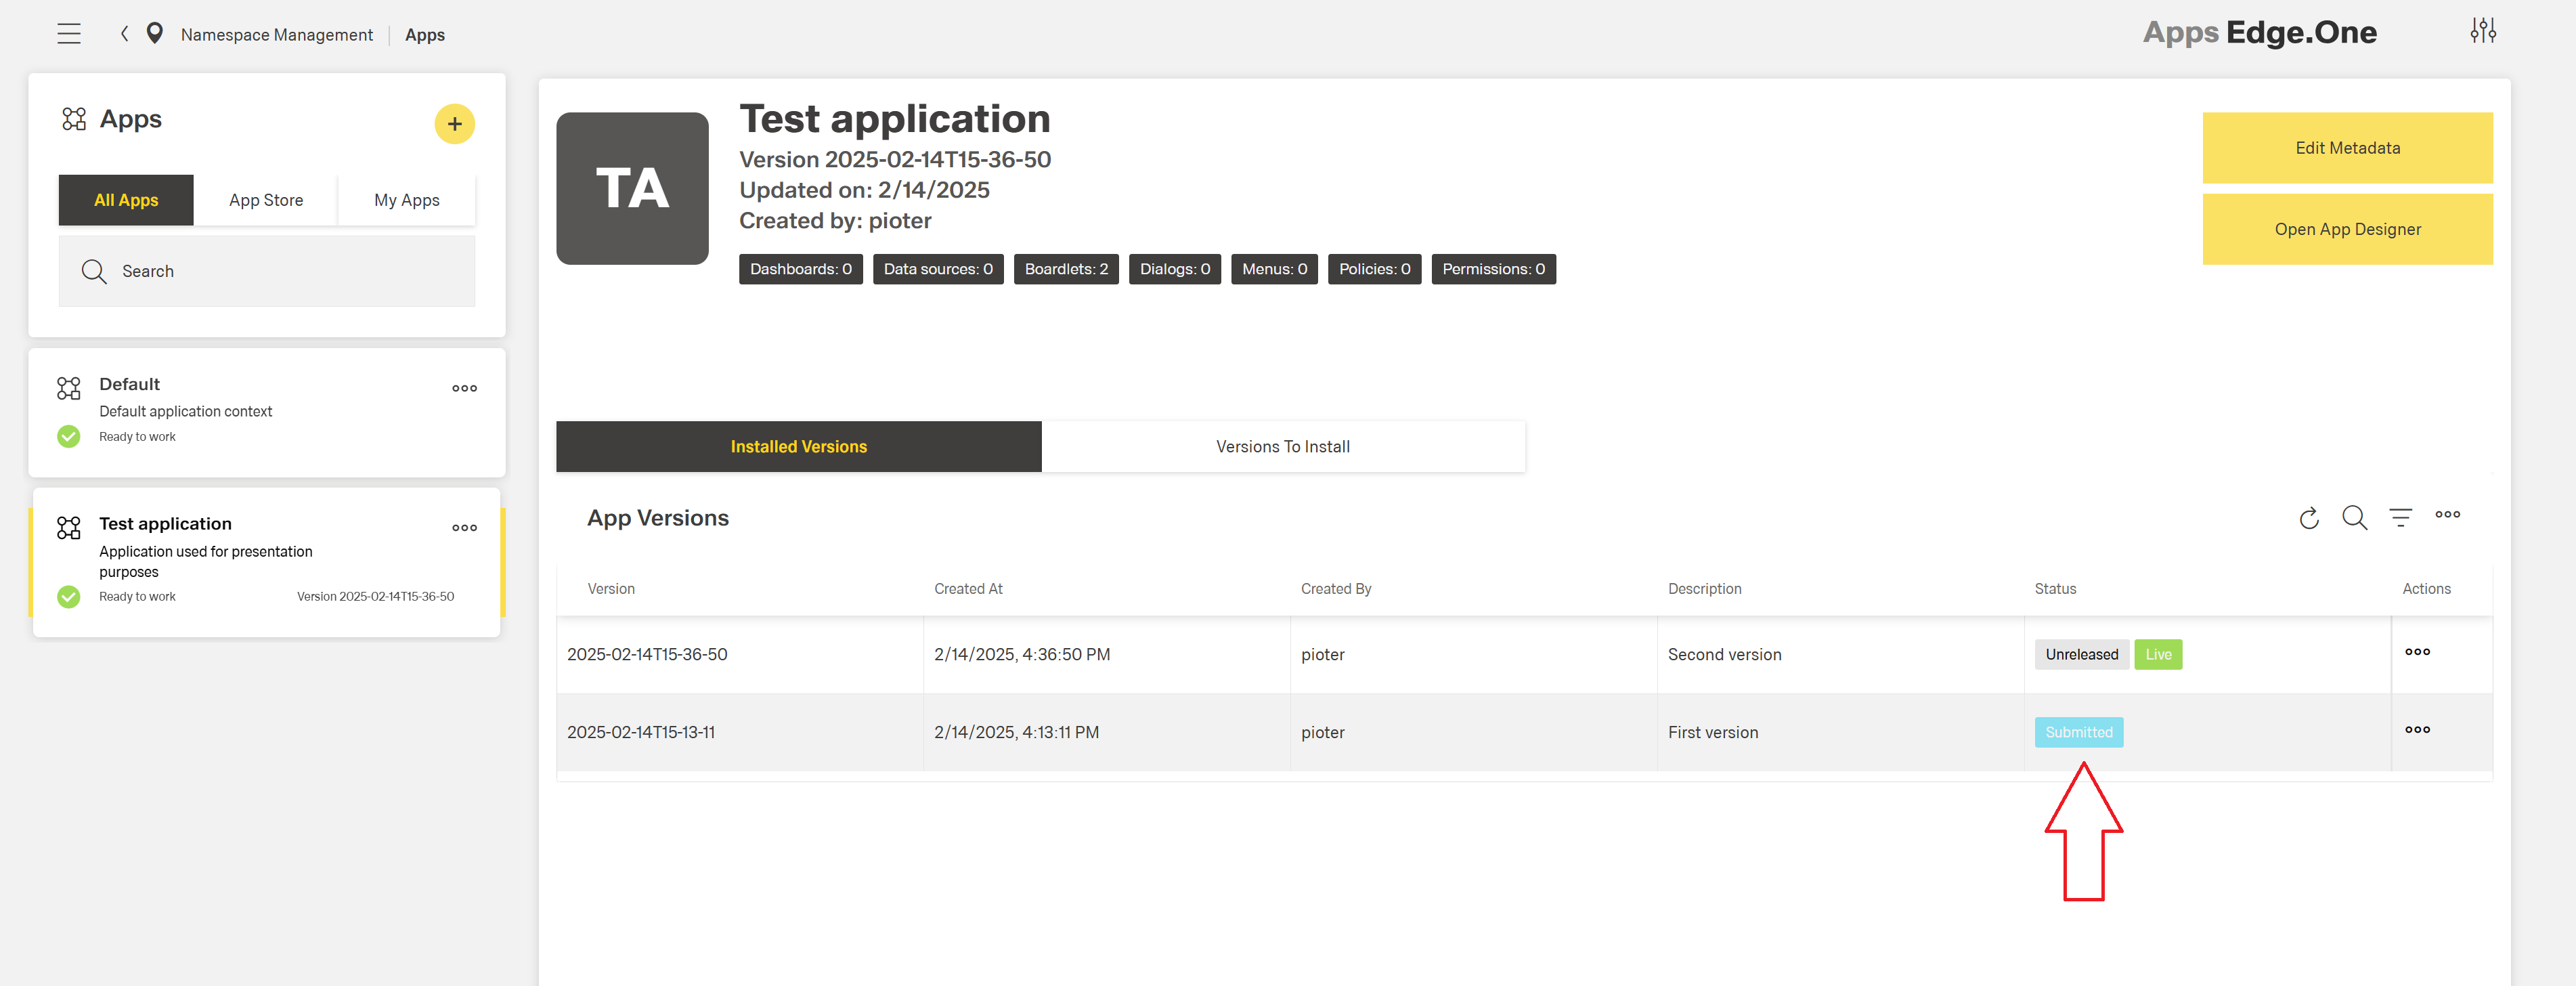
When the action is finished, app version will be flagged with Submitted status:
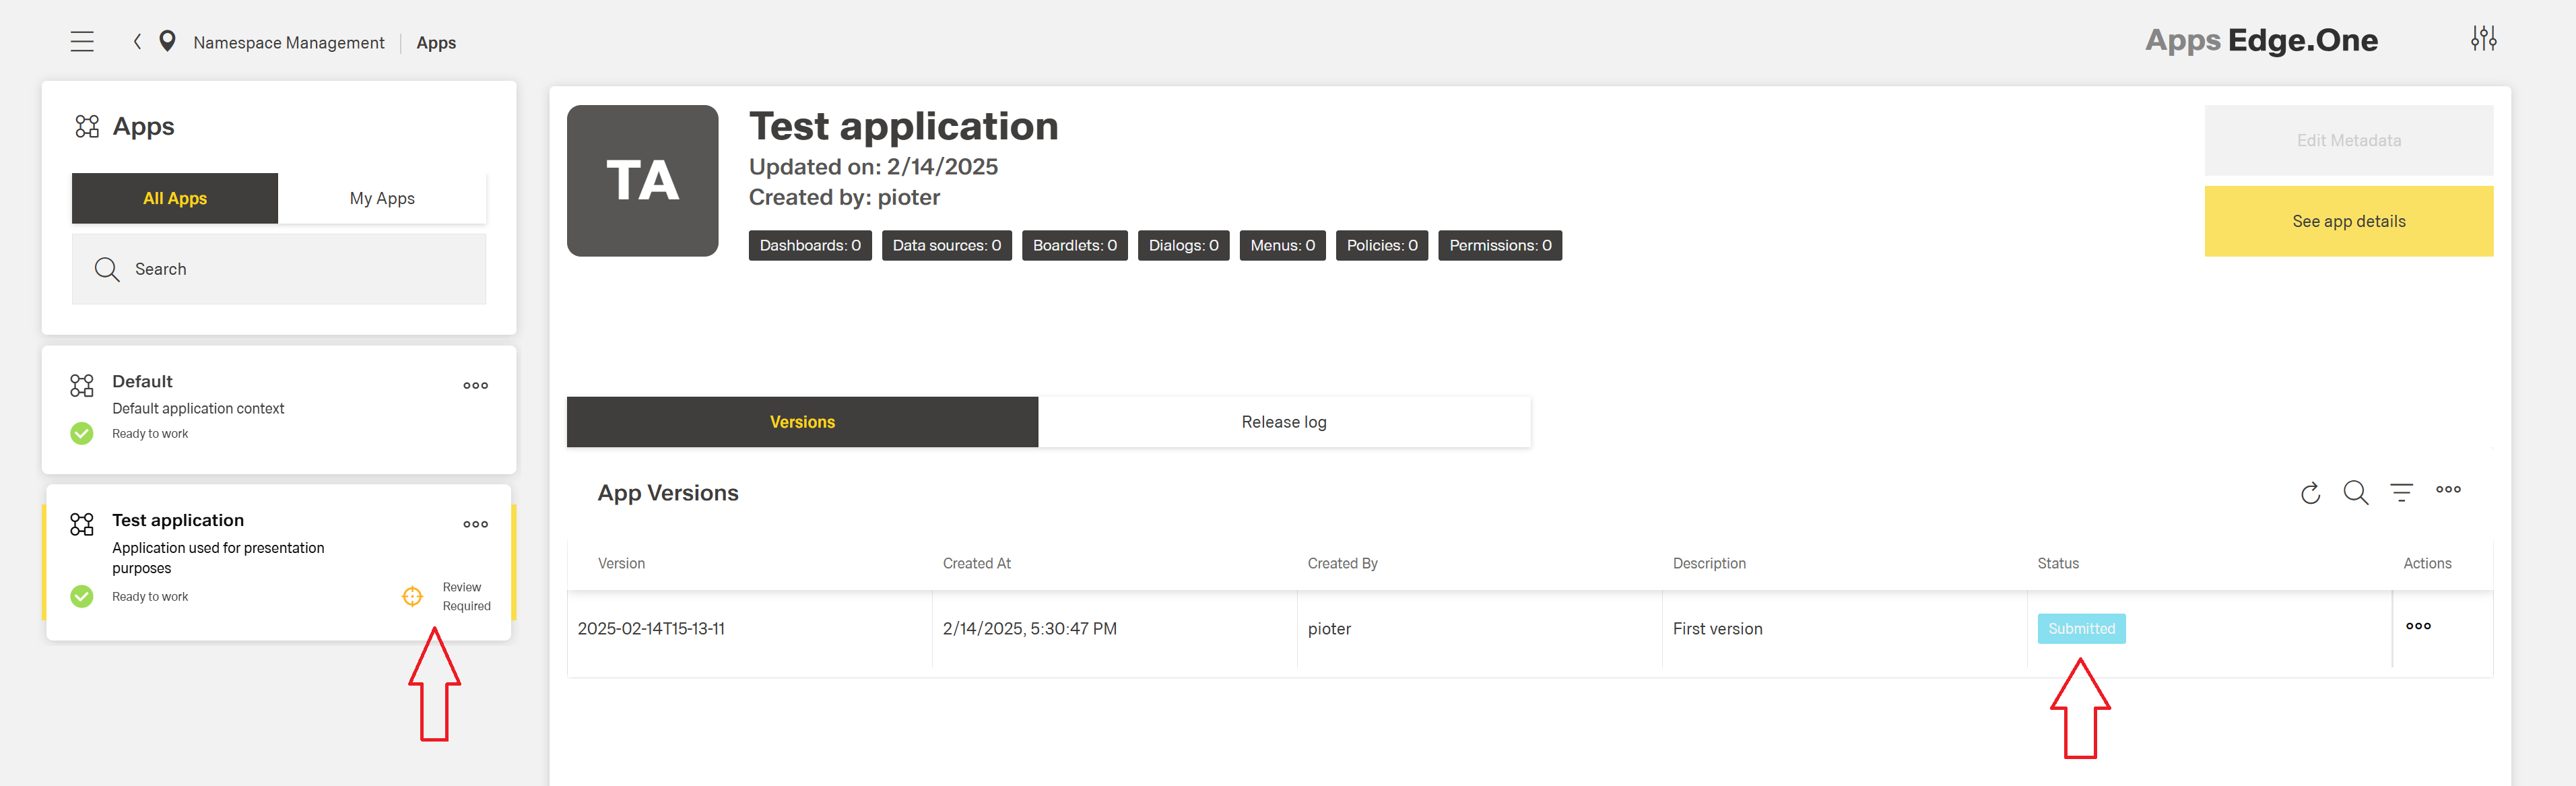
On App Store side, submitted app will be flagged as Review Required and submitted released candidate will appear in Versions table:
When Submitted status tag is hovered on, namespace domain will appear which release candidate was submitted from:

Such release candidate then can be set as live (restored) on App Store and tested accordingly.
INFO
Submitting release candidate of specific version will only publish a state of this particular version, any unsaved app changes won't be a part of a release candidate.
Lock Submitting Release Candidates
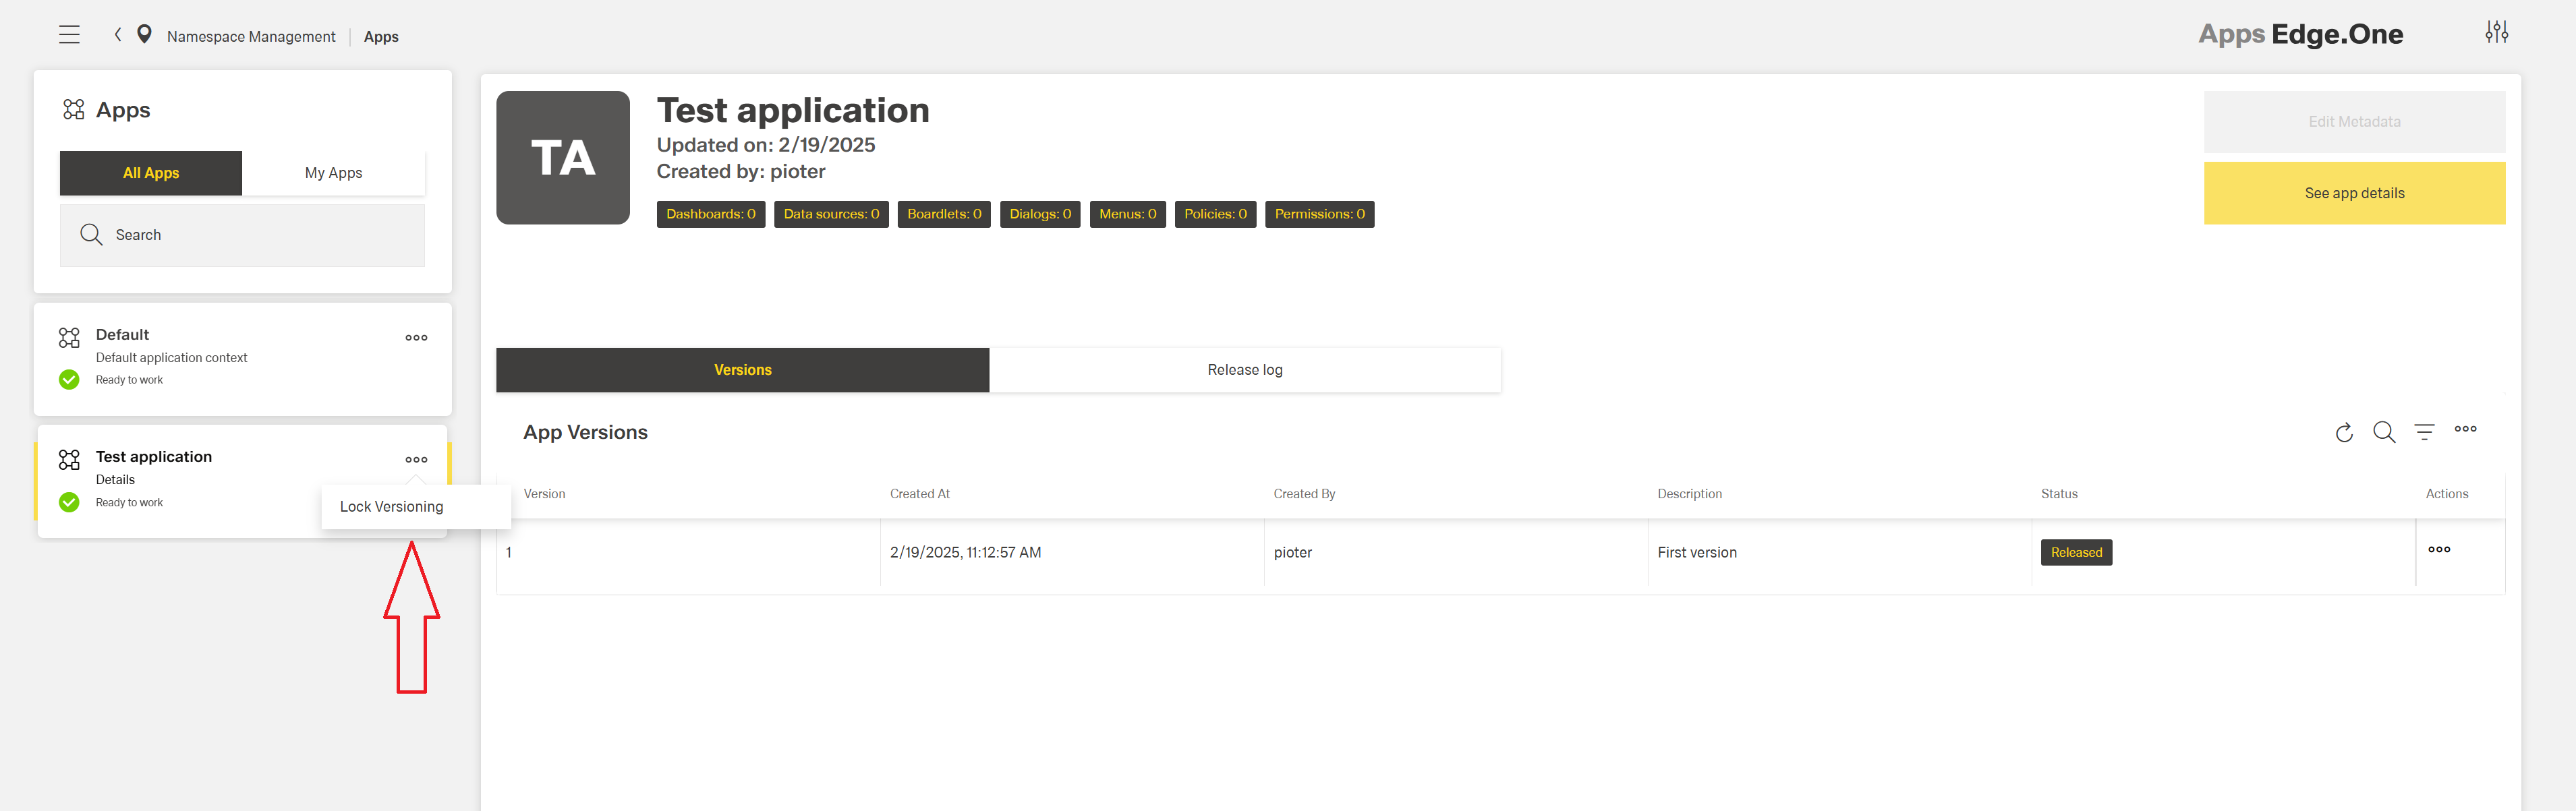
It's possible to lock submitting release candidates for specific app on App Store. To do so, click Lock Versioning on app card in App Store's app management:
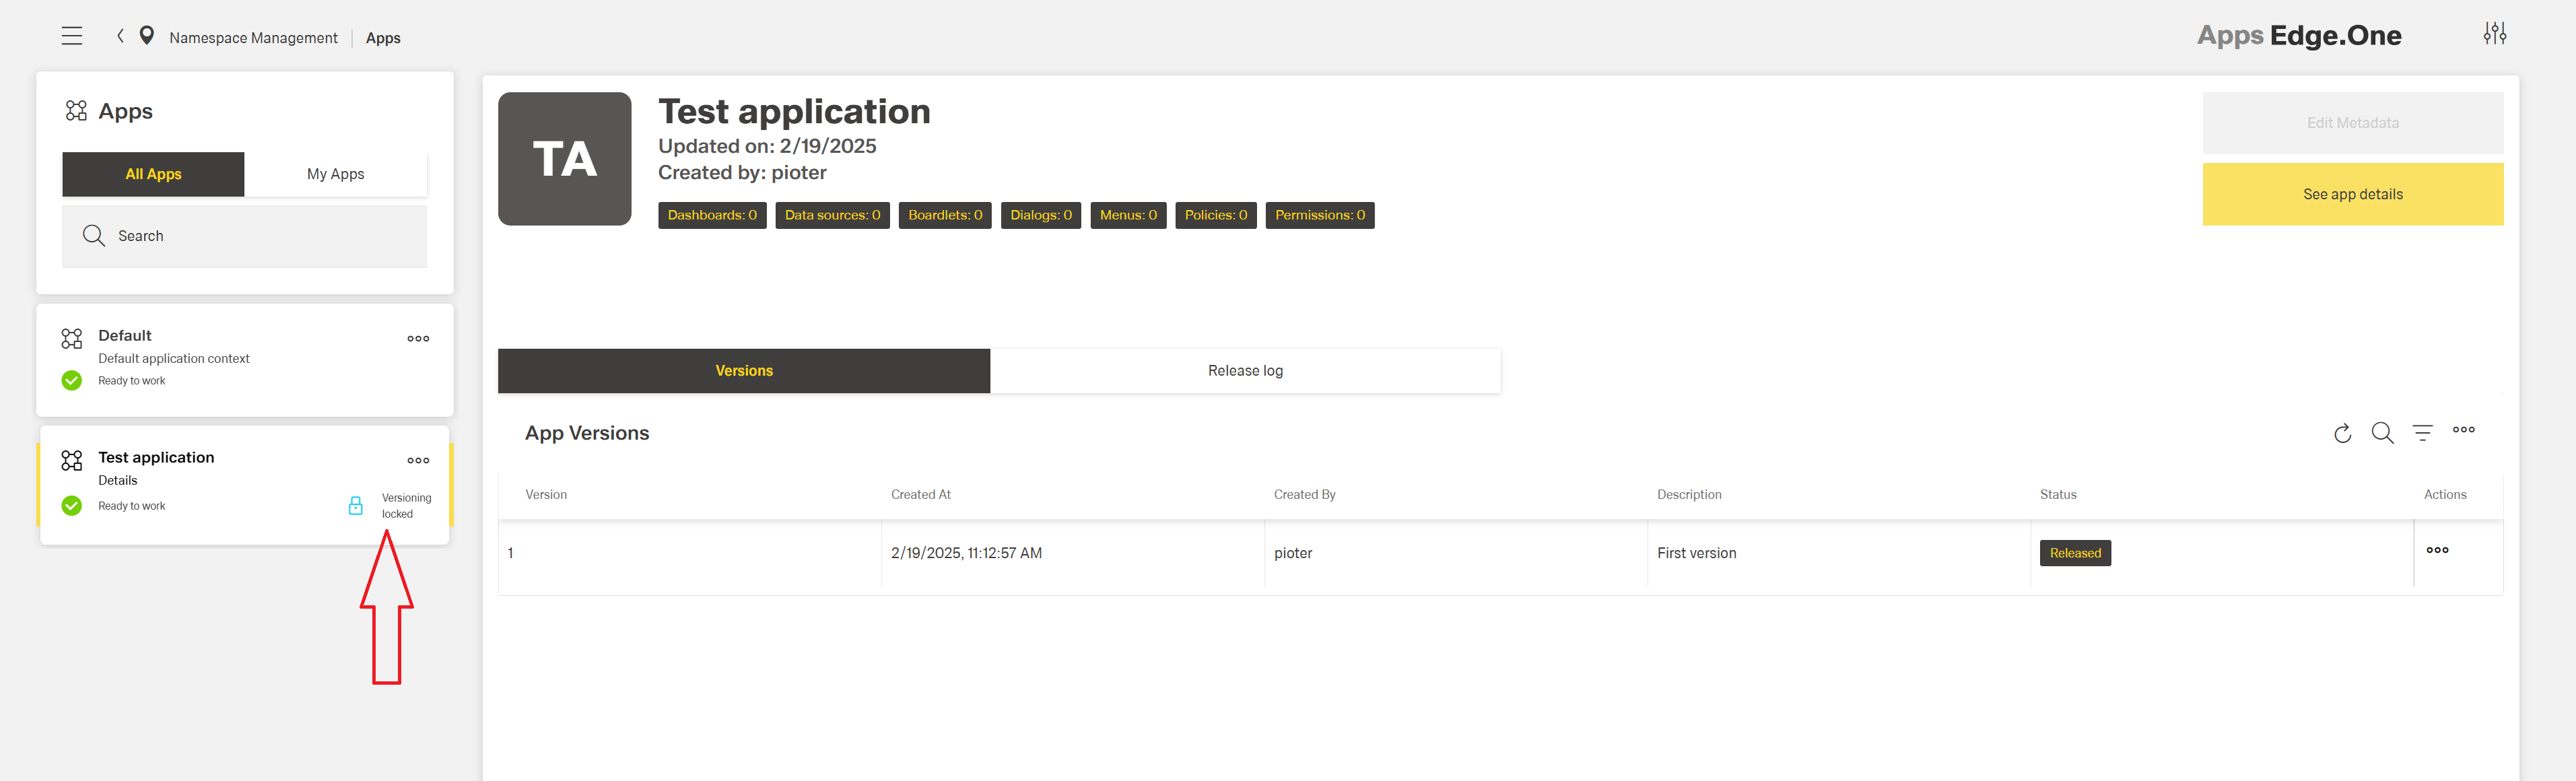
Application will be flagged with Versioning locked:
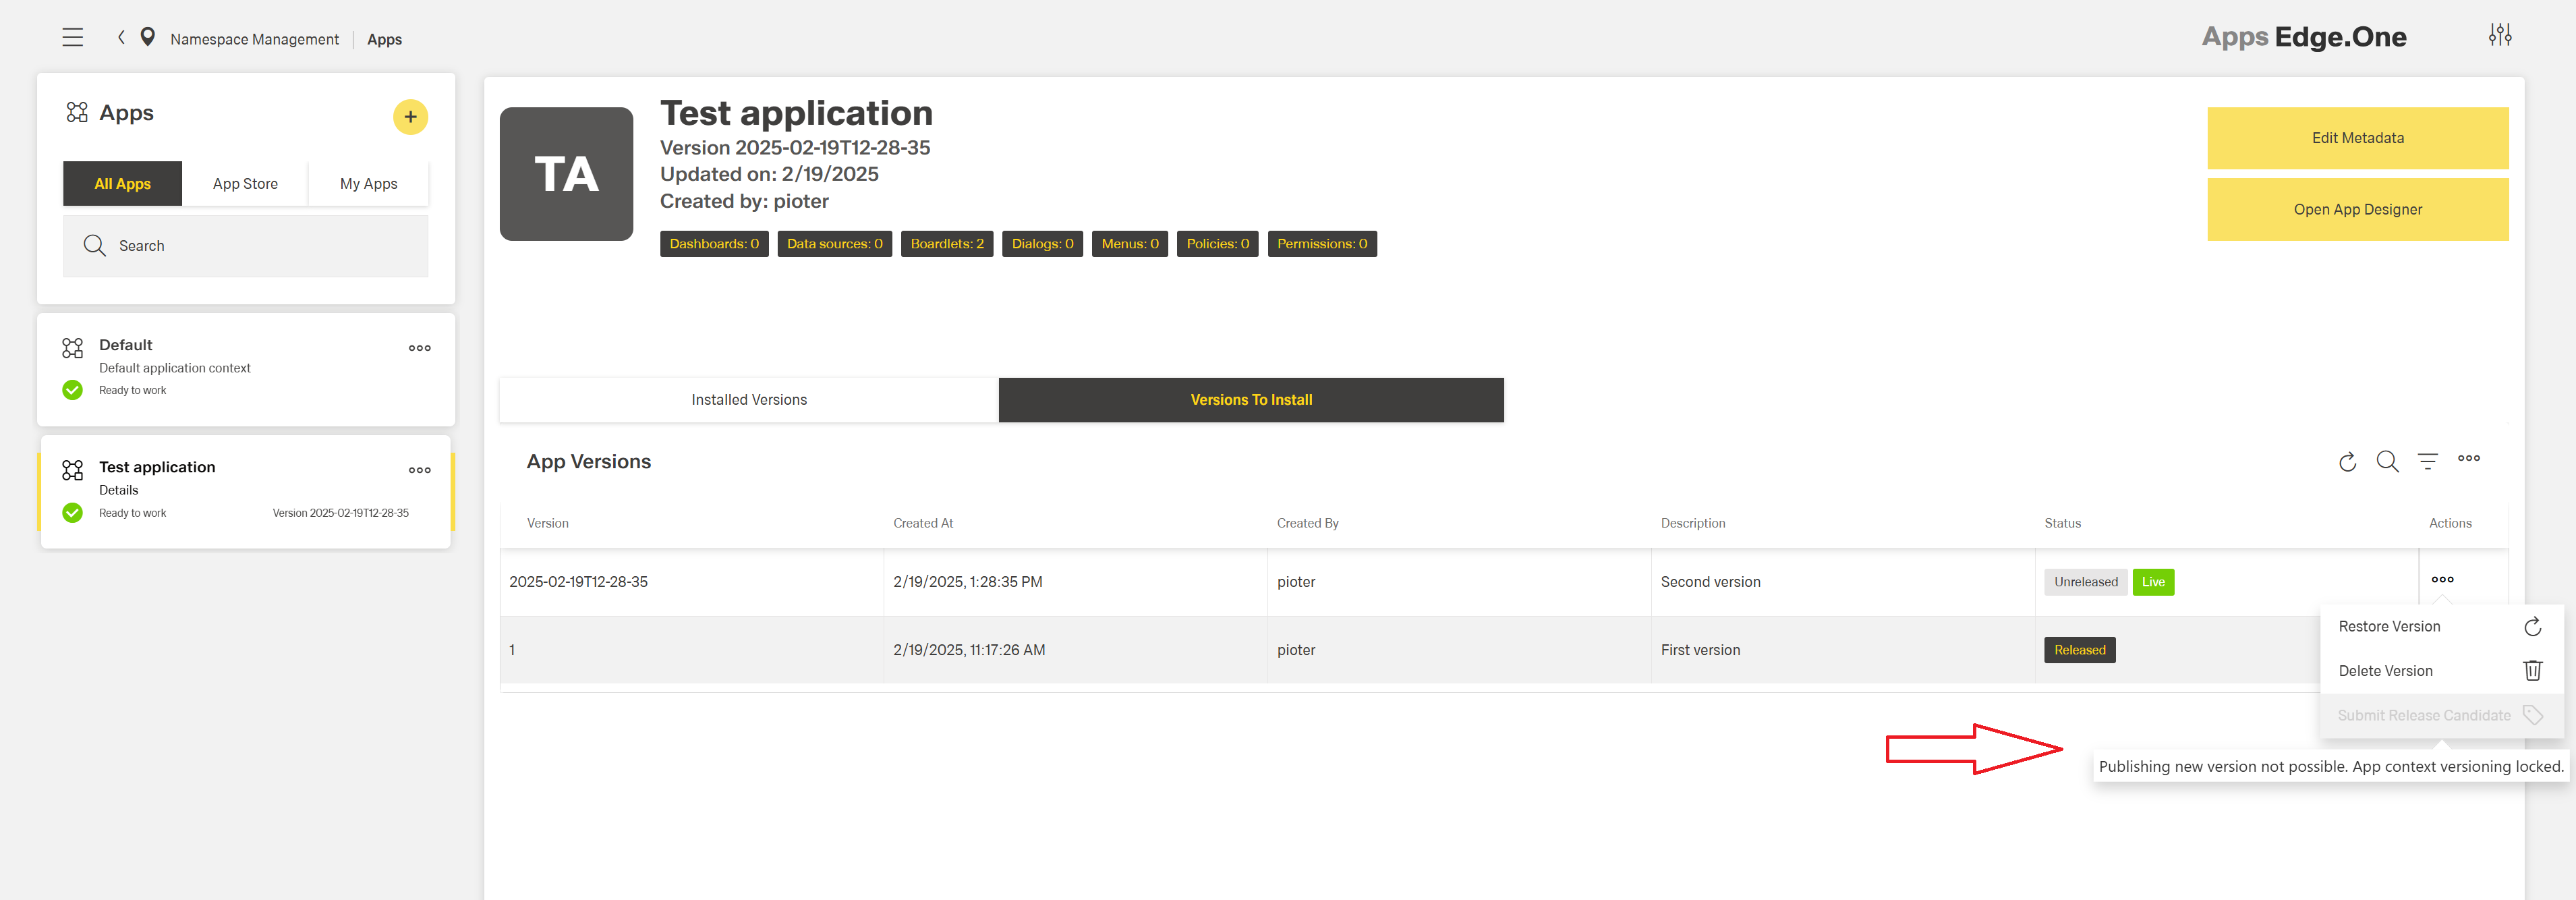
And submitting release candidates from other namespaces will be unavailable:
Approve Release Candidate
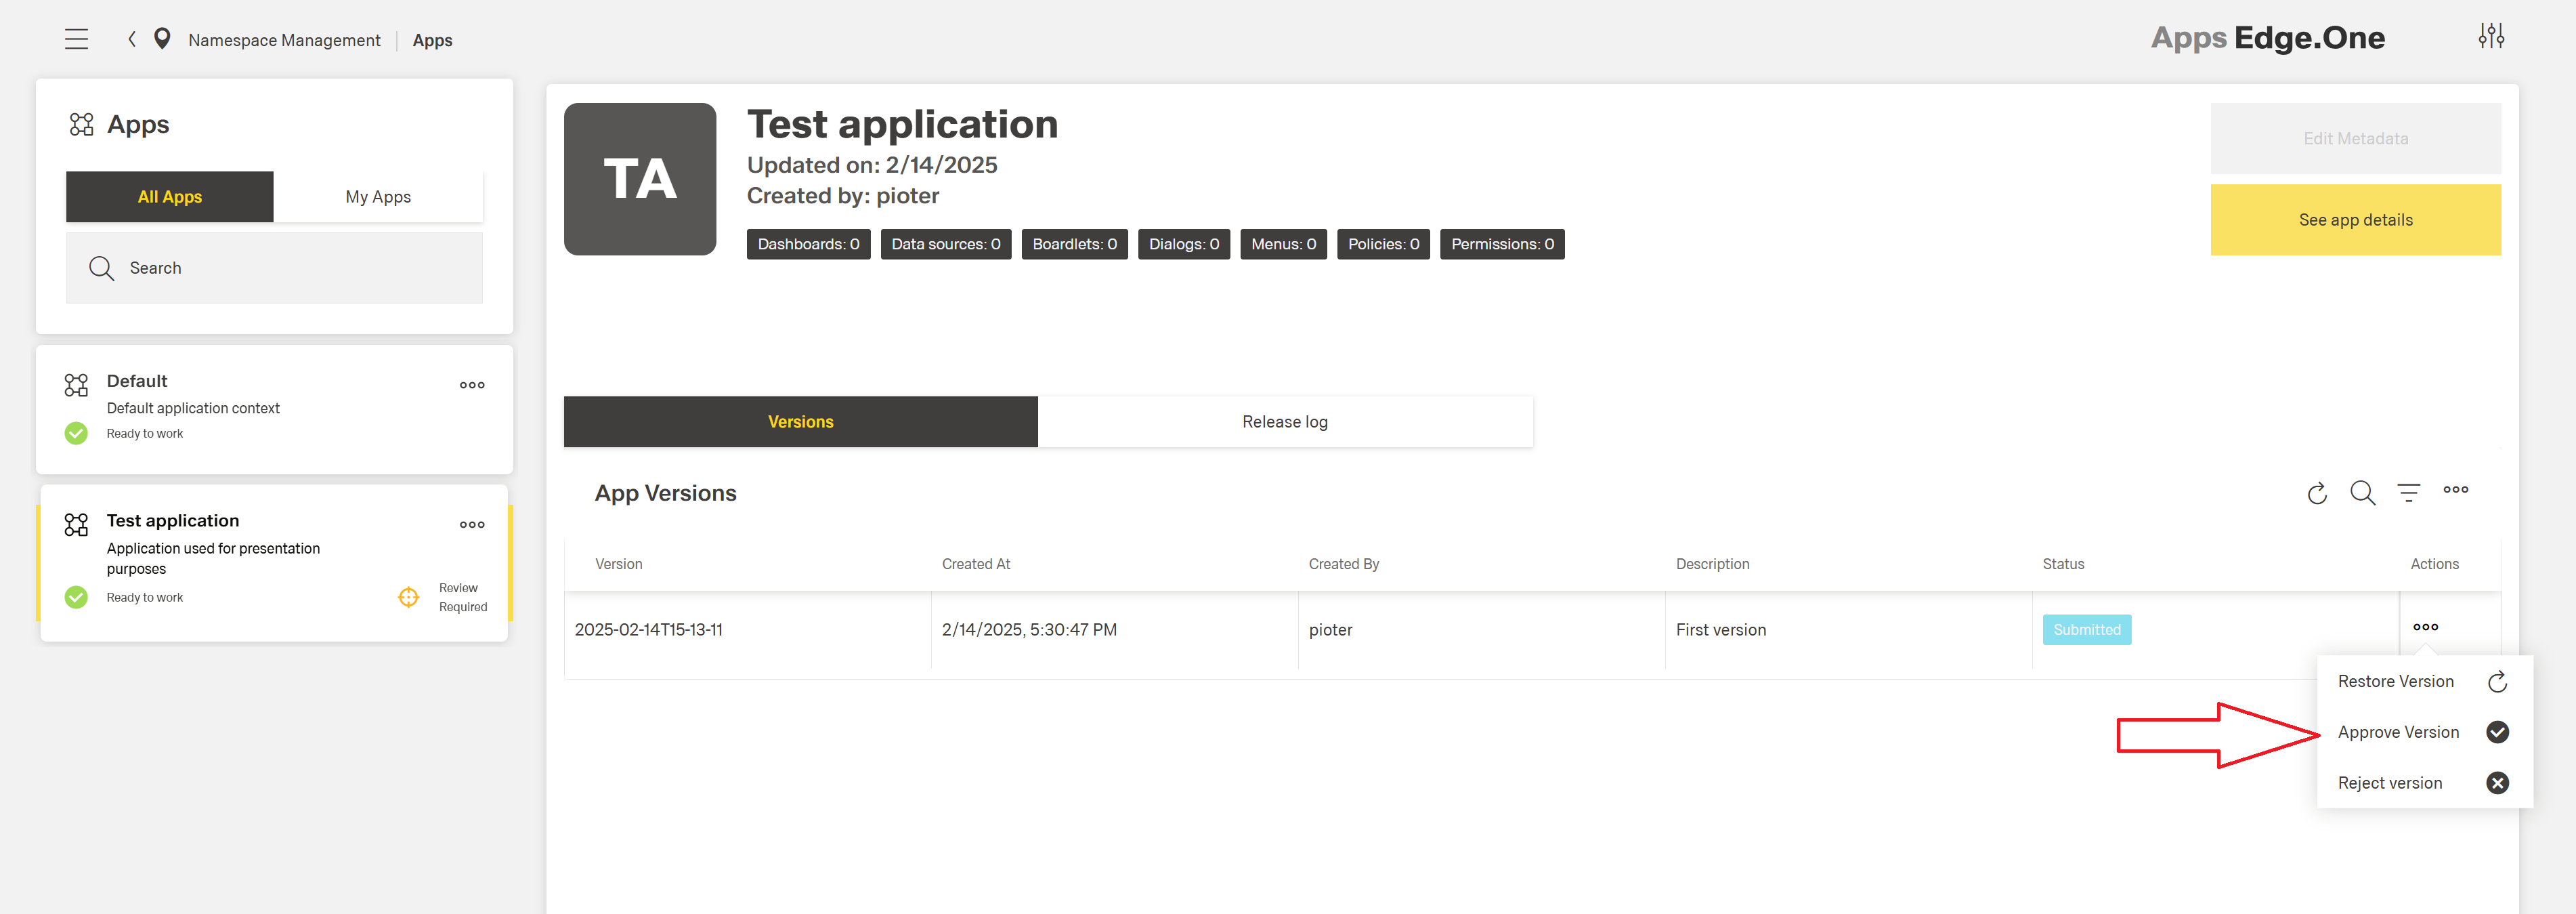
When the release candidate is tested on App Store namespace and is ready to be released as official version, click Approve Version action on specific release candidate:
Confirmation dialog will pop up:
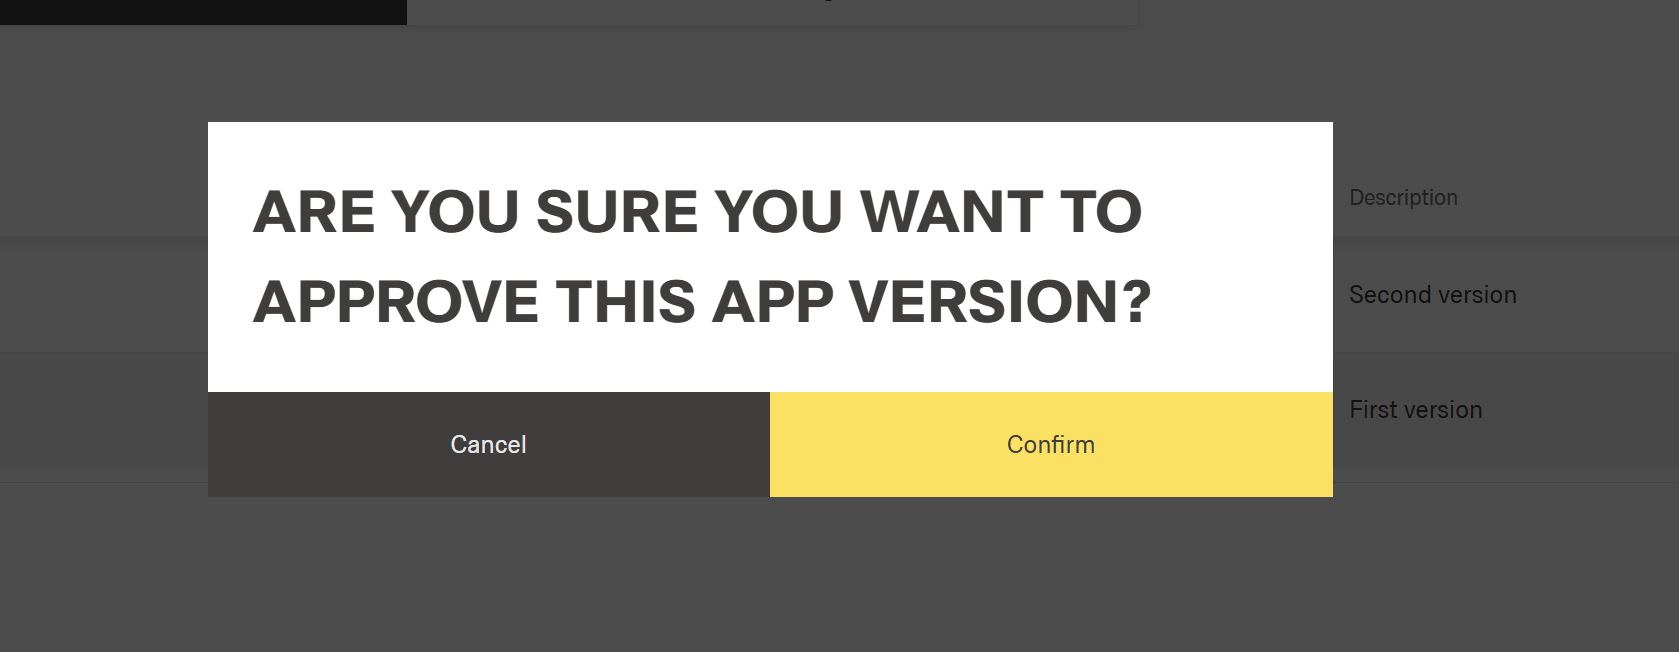
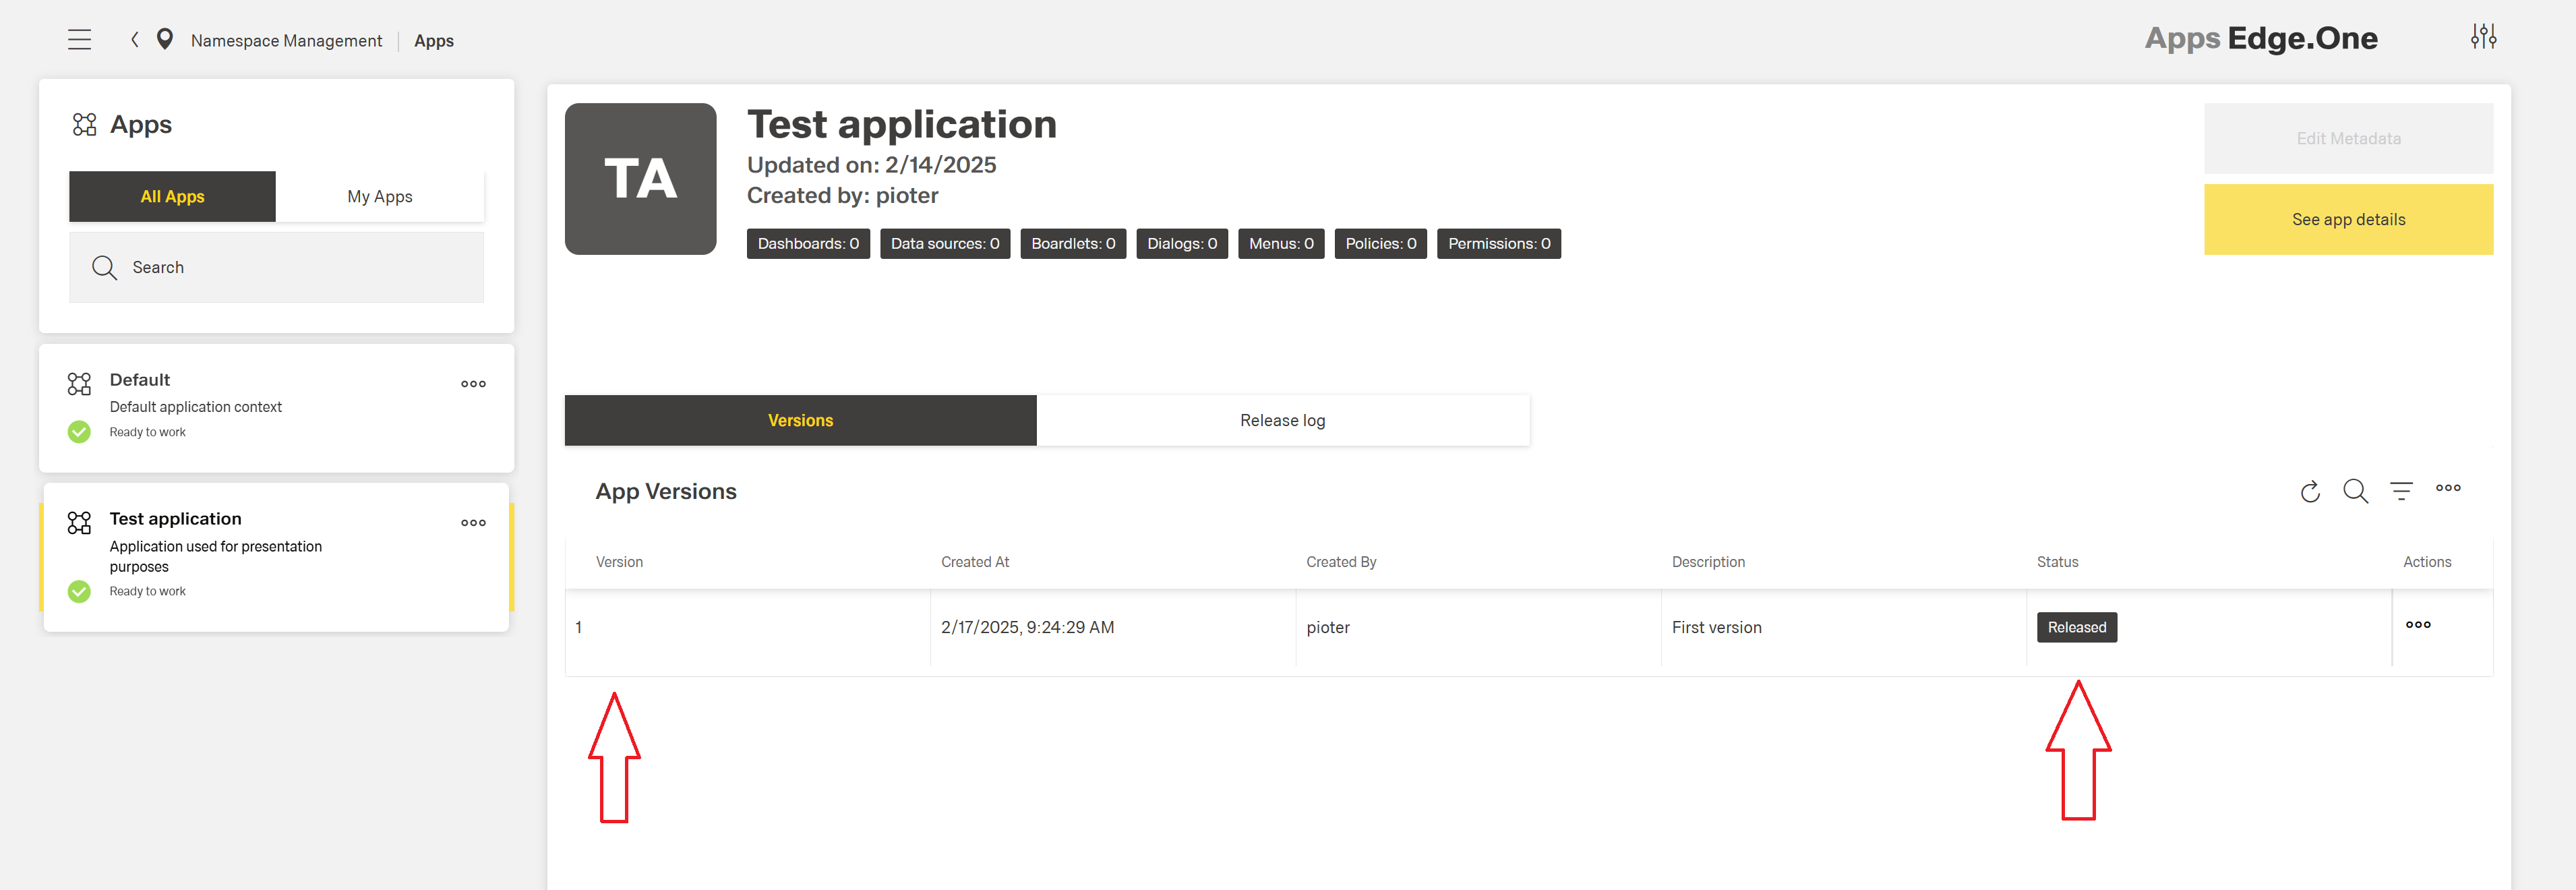
When action is completed, release candidate will be removed and the new official version based on released candidate will be created and flagged with Released status. First released version of an app is flagged as 1. Each released version increments version string.
Released versions are installable on the App Store connected namespaces.
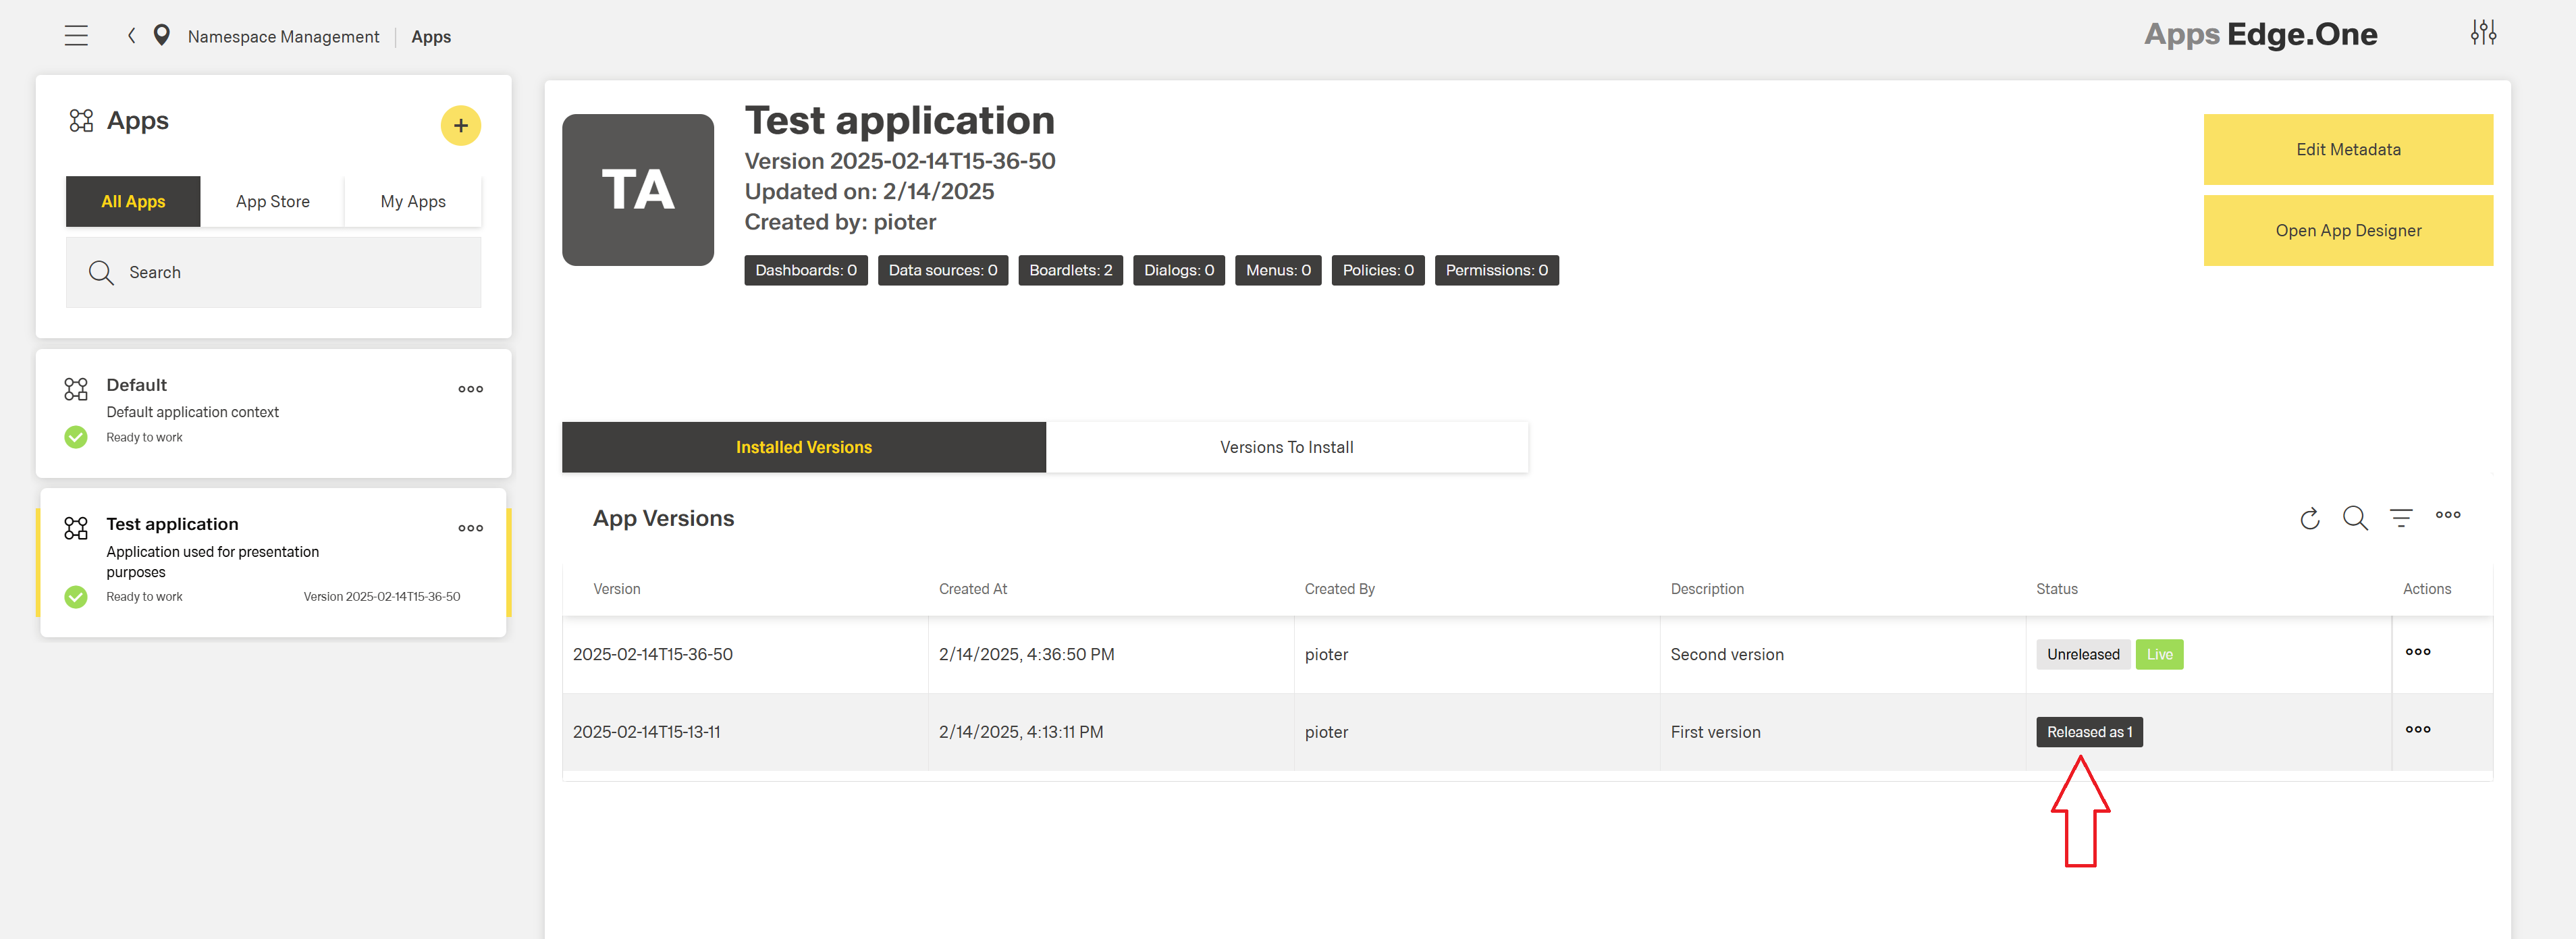
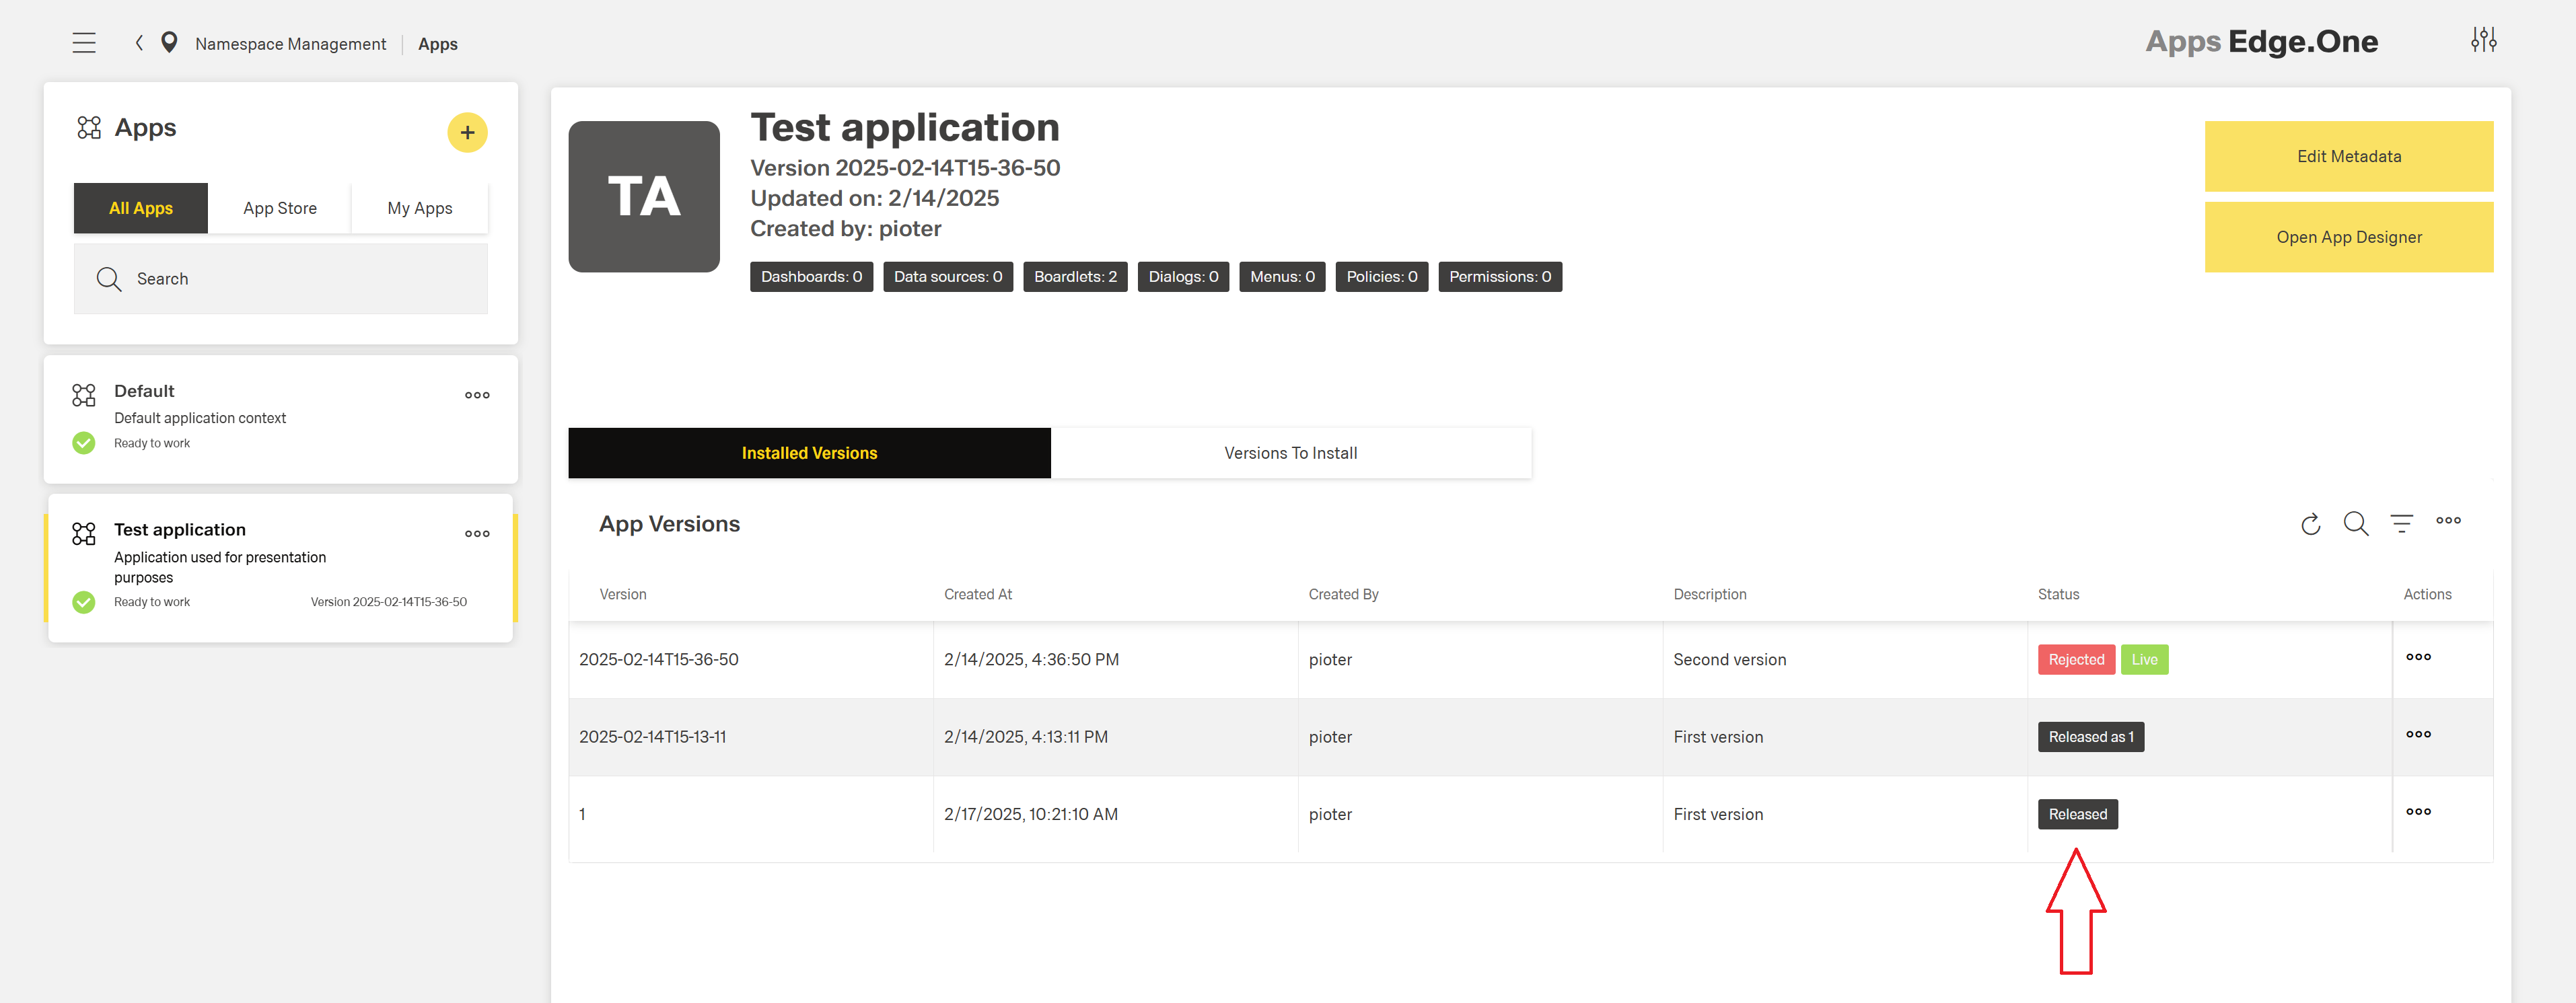
On the namespace which the release candidate was submitted from, the related version will be flagged as Released as <released_version> to indicate that release candidate of this version was approved and released as official version.
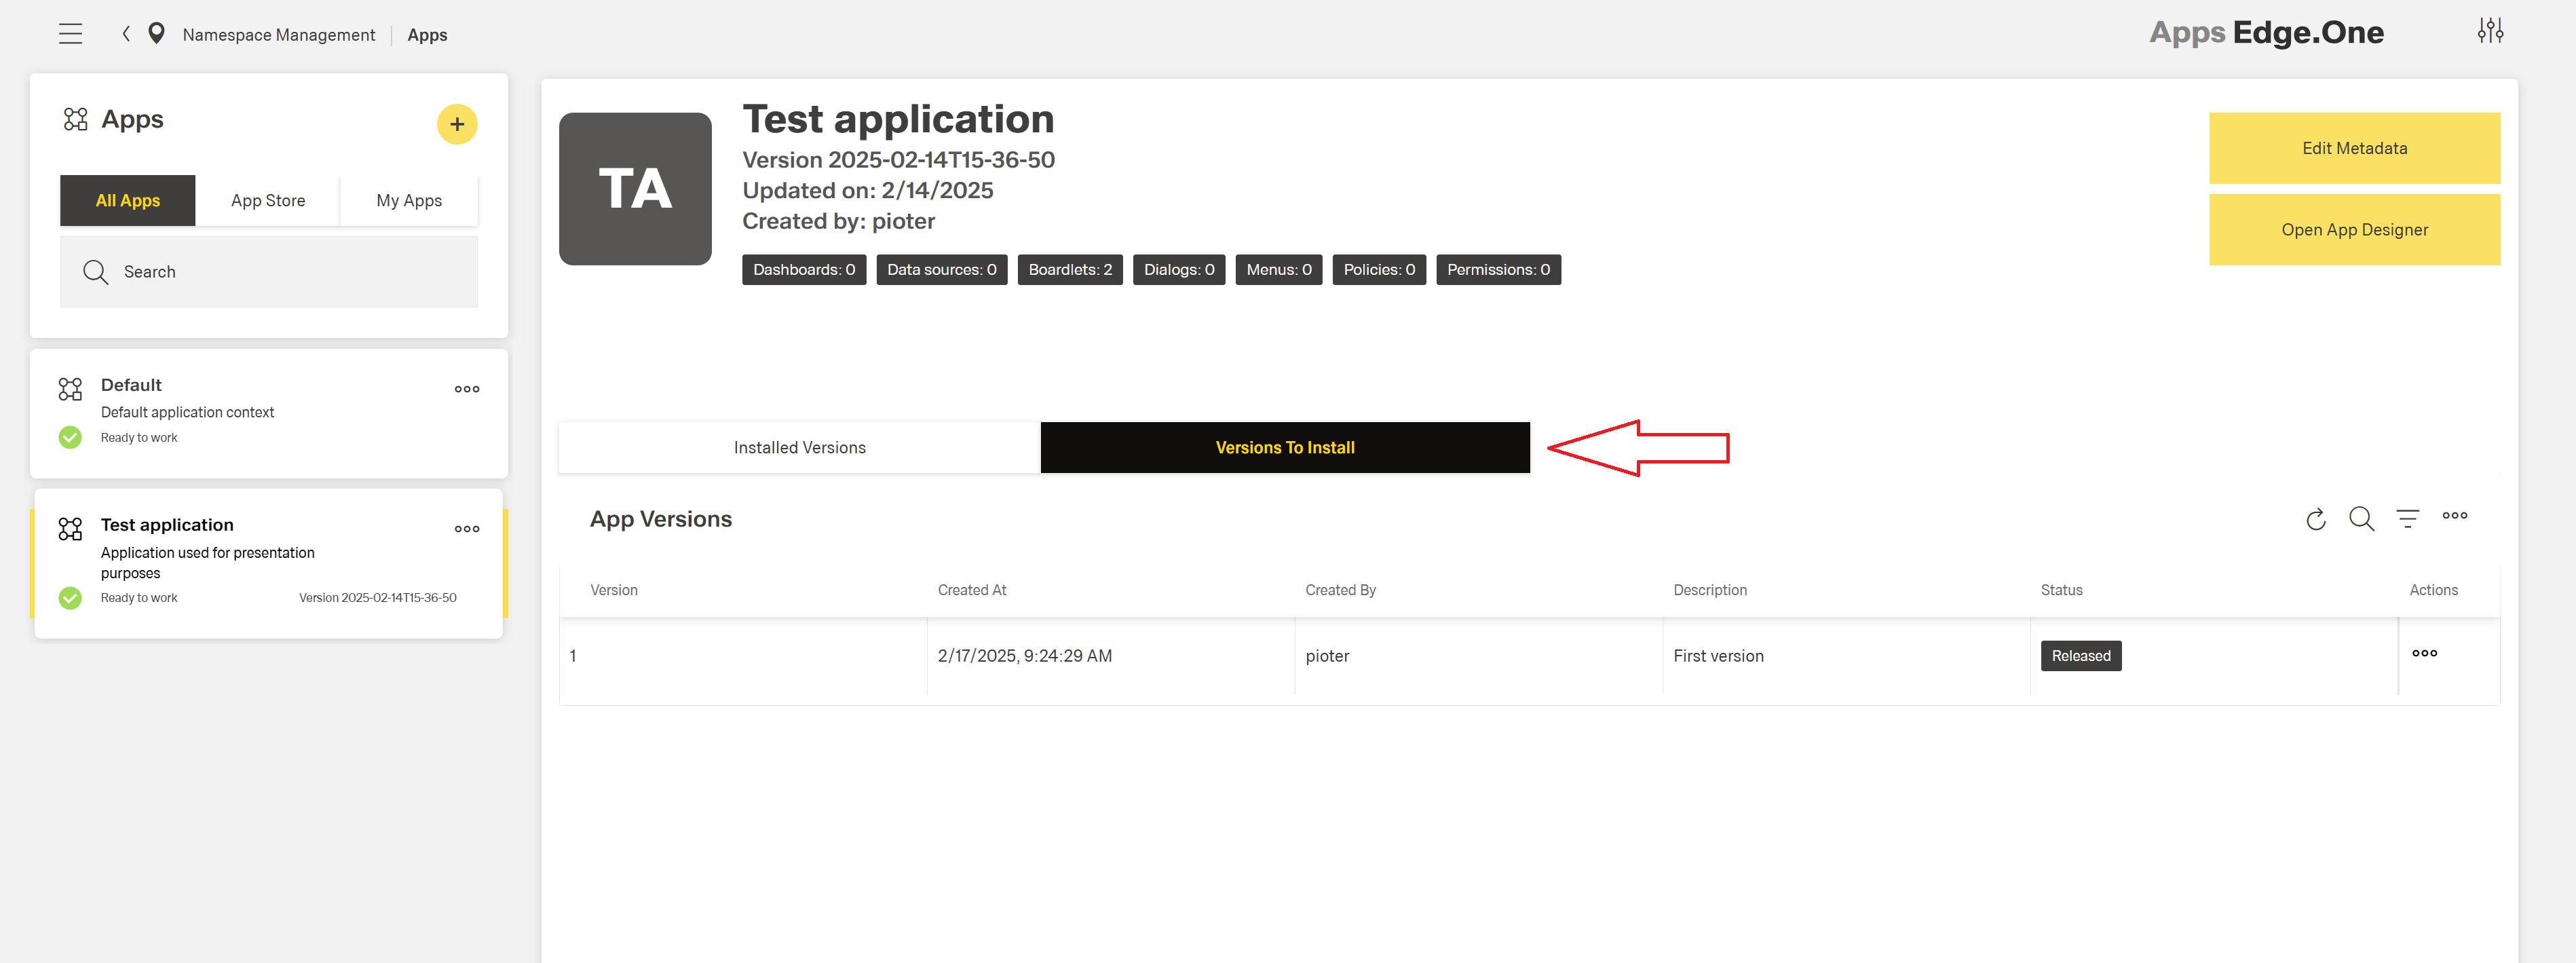
Released version will appear in Versions To Install table:
Reject Release Candidate
When the release candidate is flawed and cannot be released as official app version, click Reject Version action on the specific release candidate:
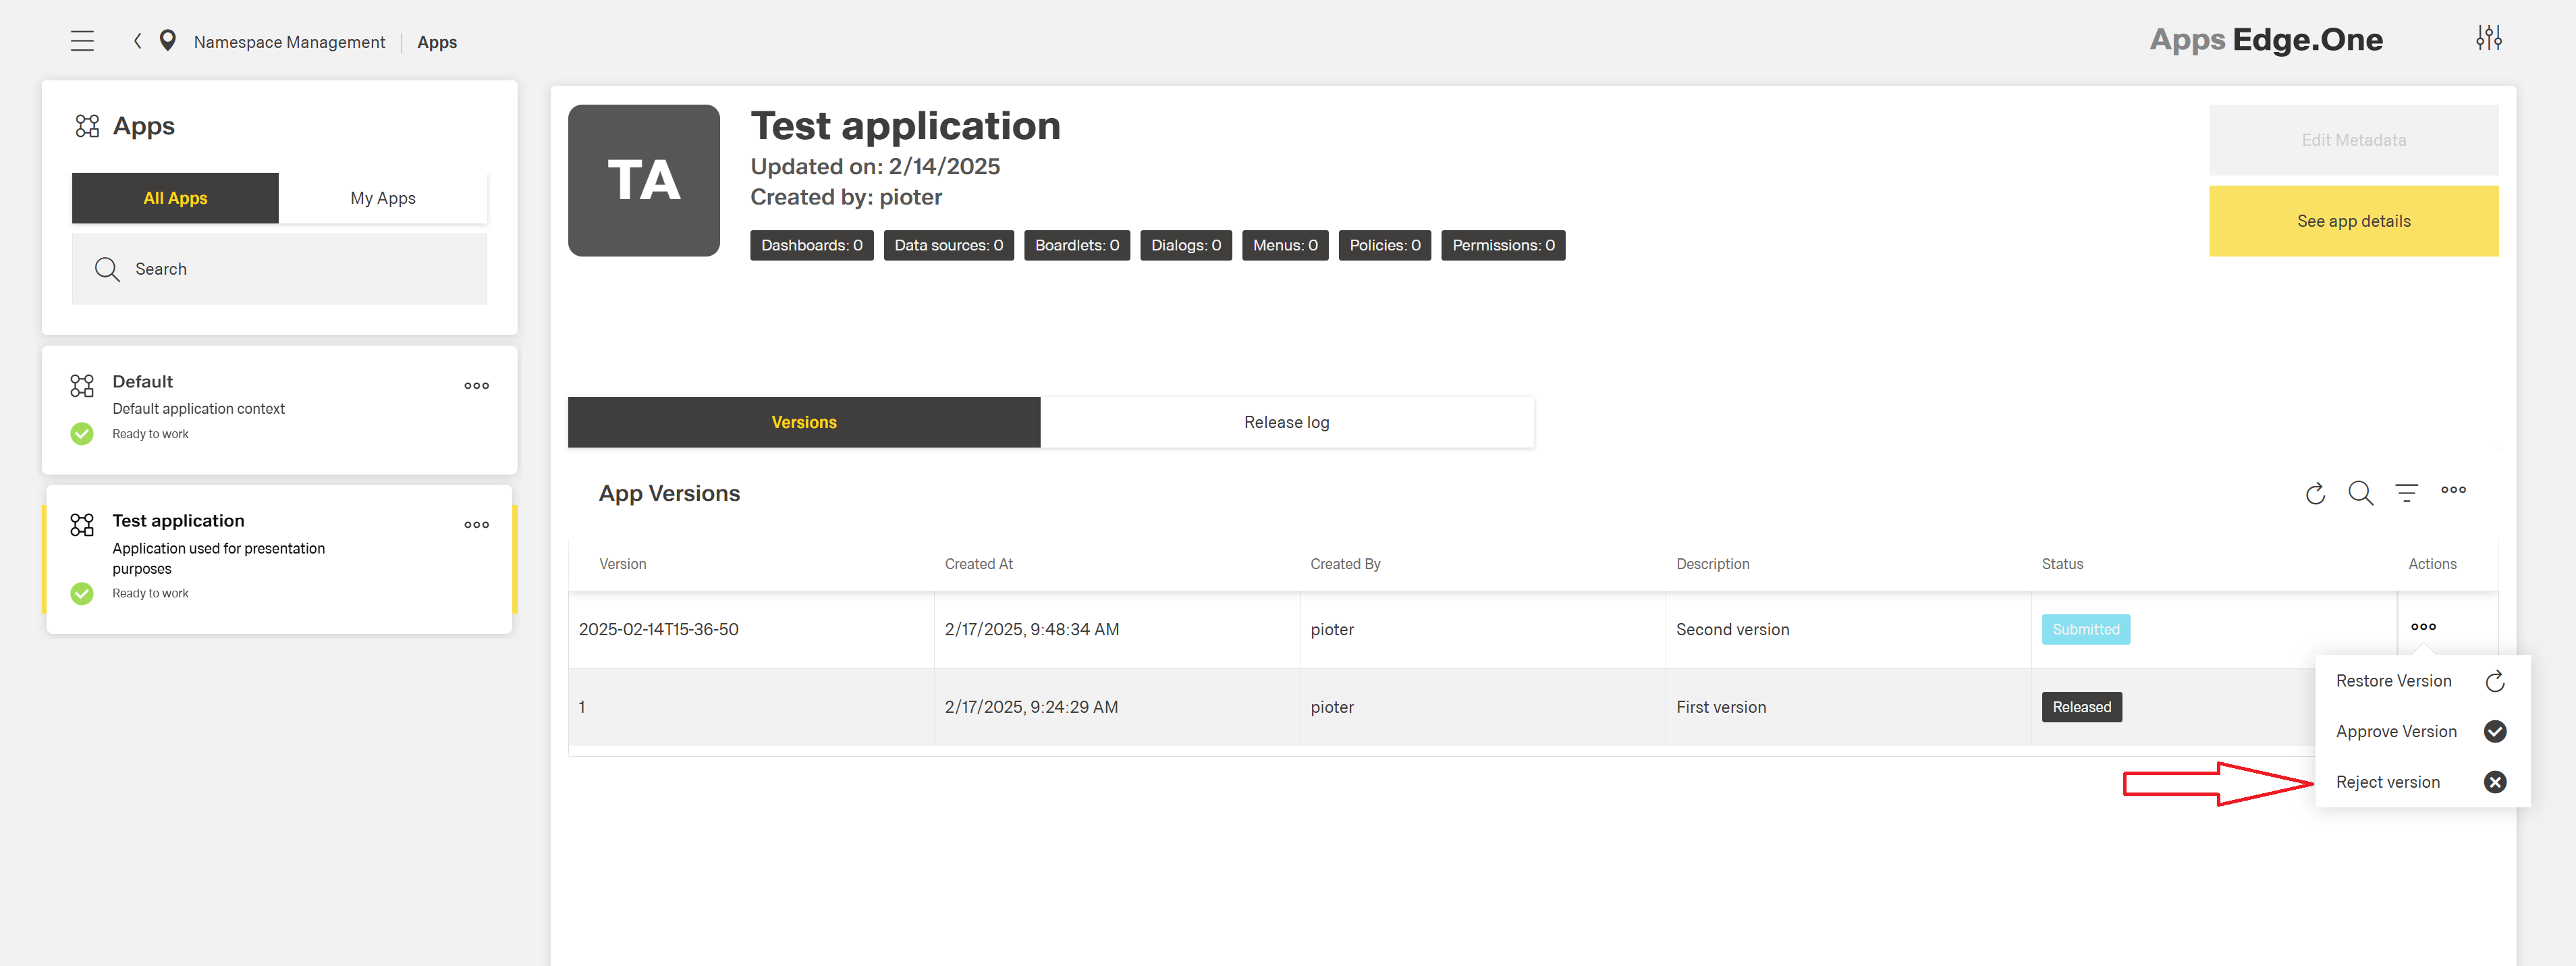
Fill mandatory rejection reason:

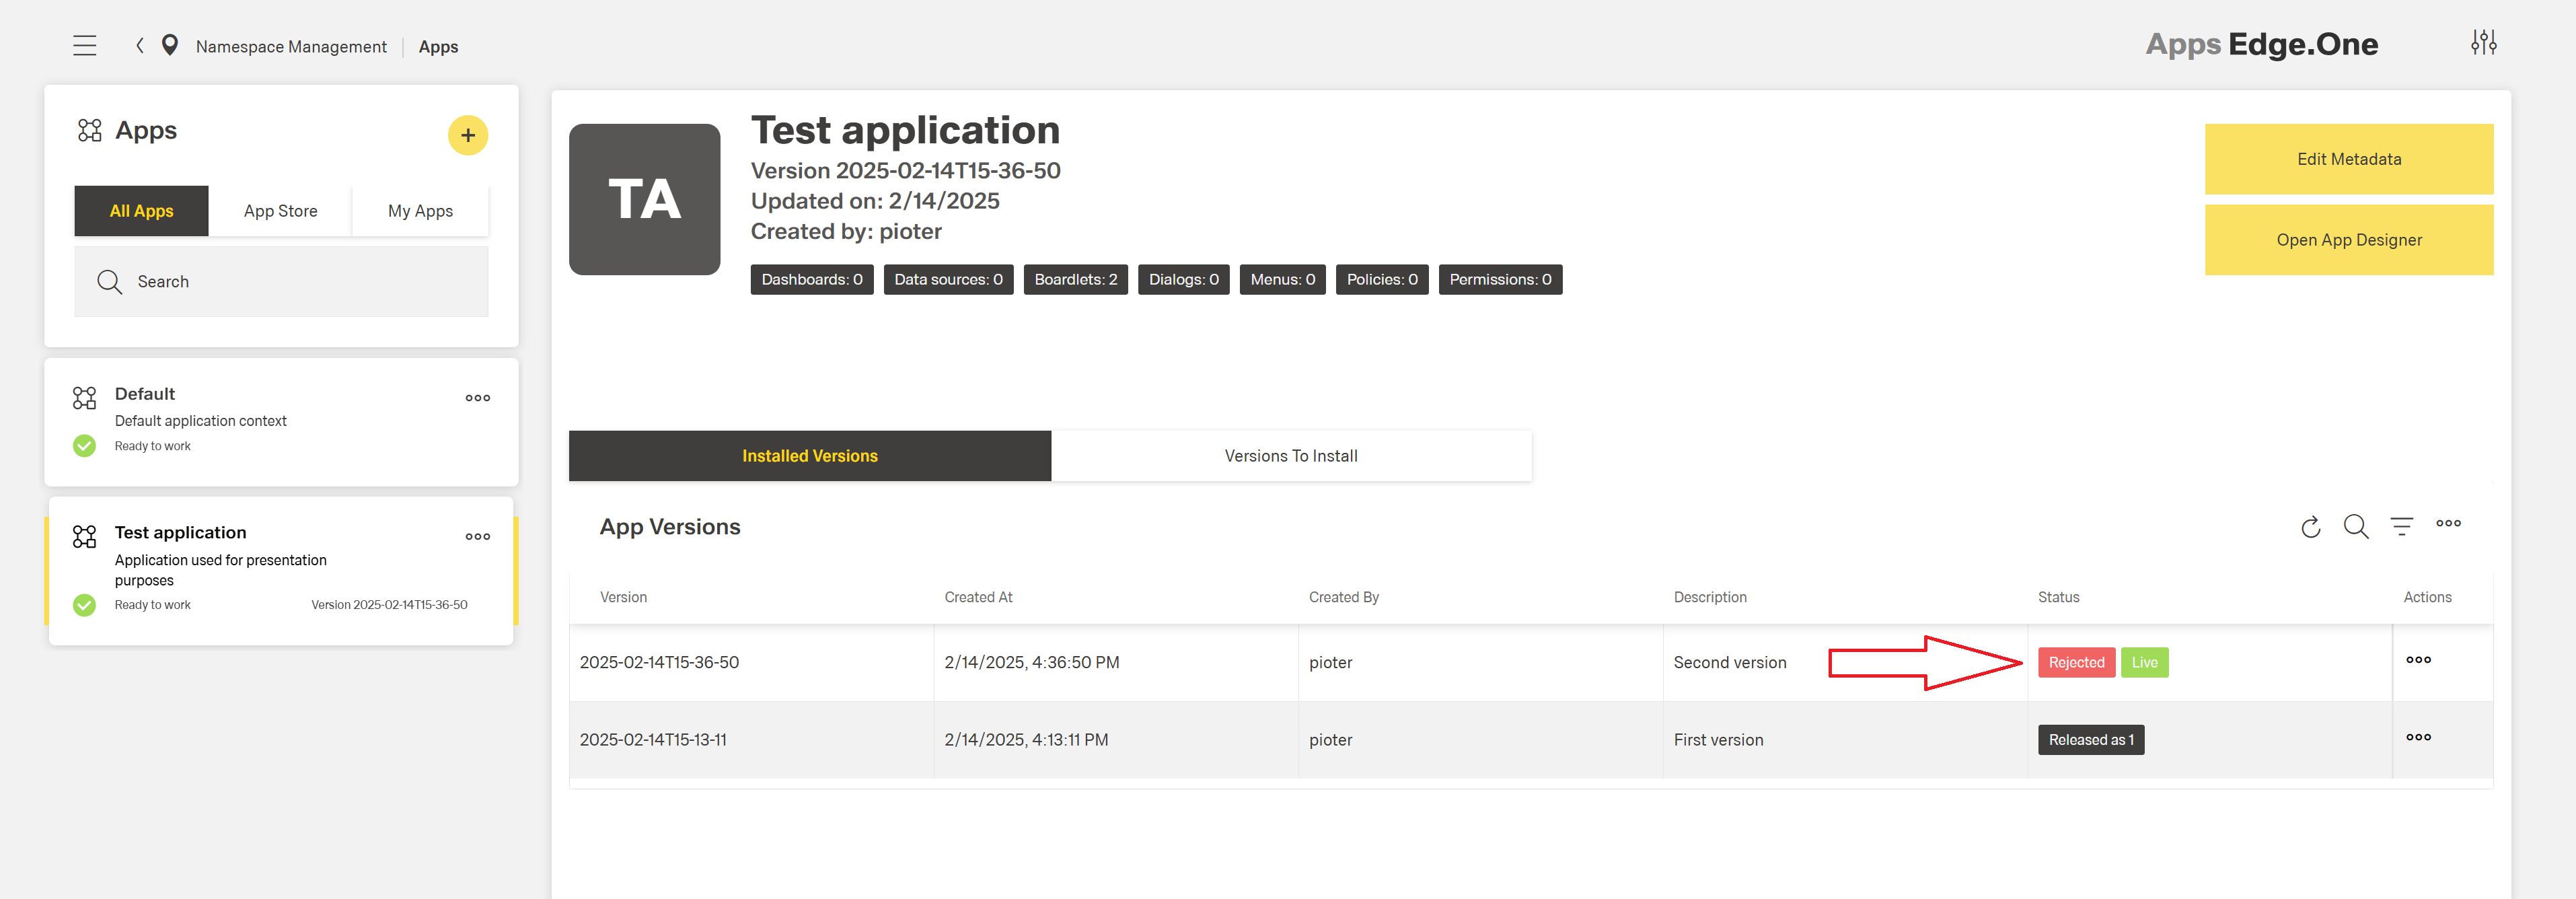
When action is completed, release candidate will be removed from App Store:

On the namespace which the release candidate was submitted from, the related version will be flagged with Rejected status to indicate that the release candidate of this version was rejected on App Store.
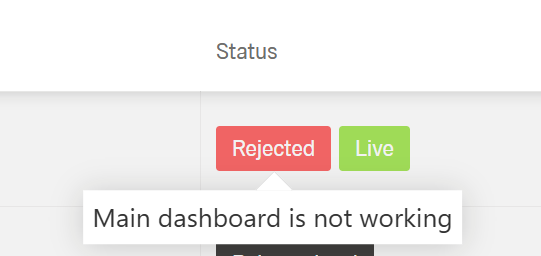
When Rejected status tag is hovered on, rejection reason will be displayed:
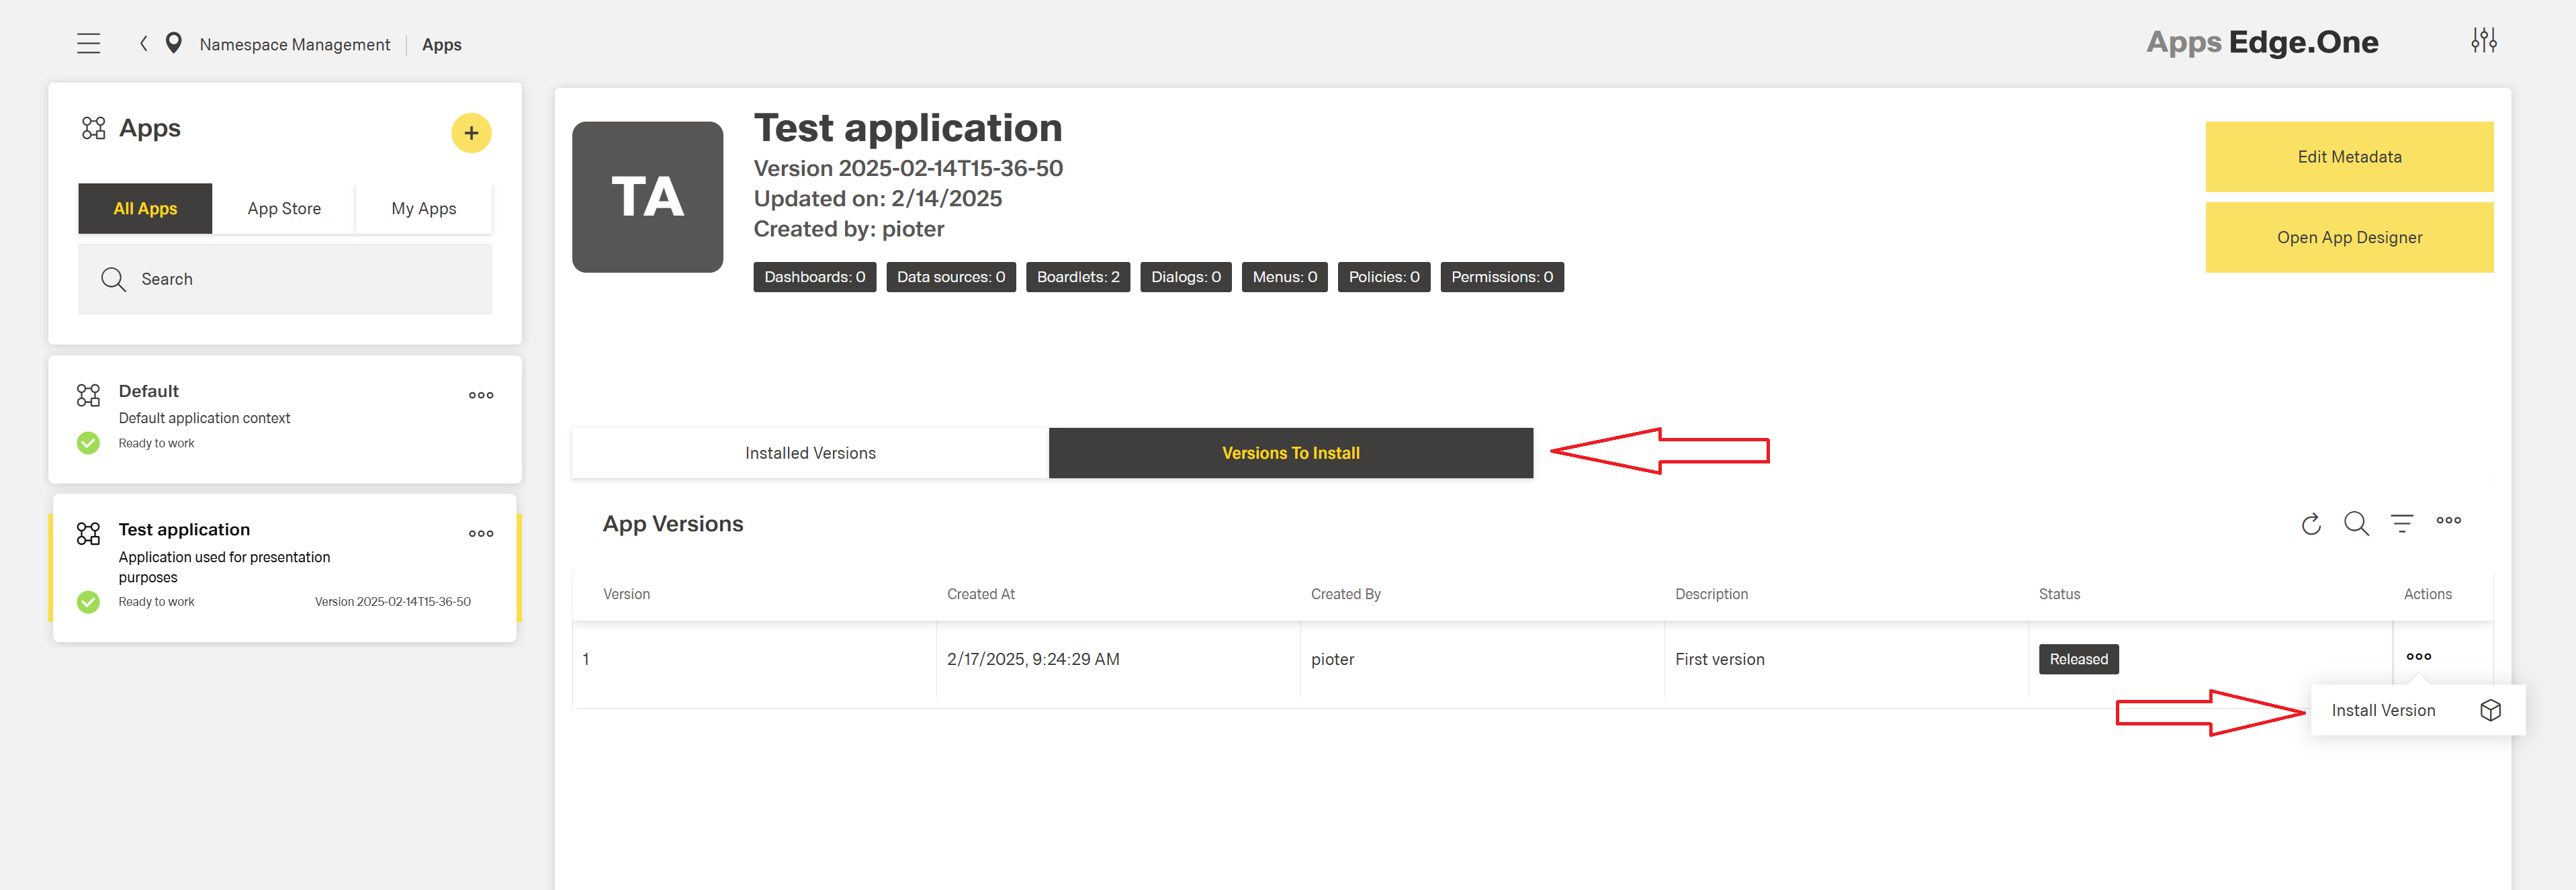
Install App Version
To install the version for an app which is already installed on the namespace, go to Versions To Install table and click Install Version action on specific release version:
Confirmation dialog will pop up:
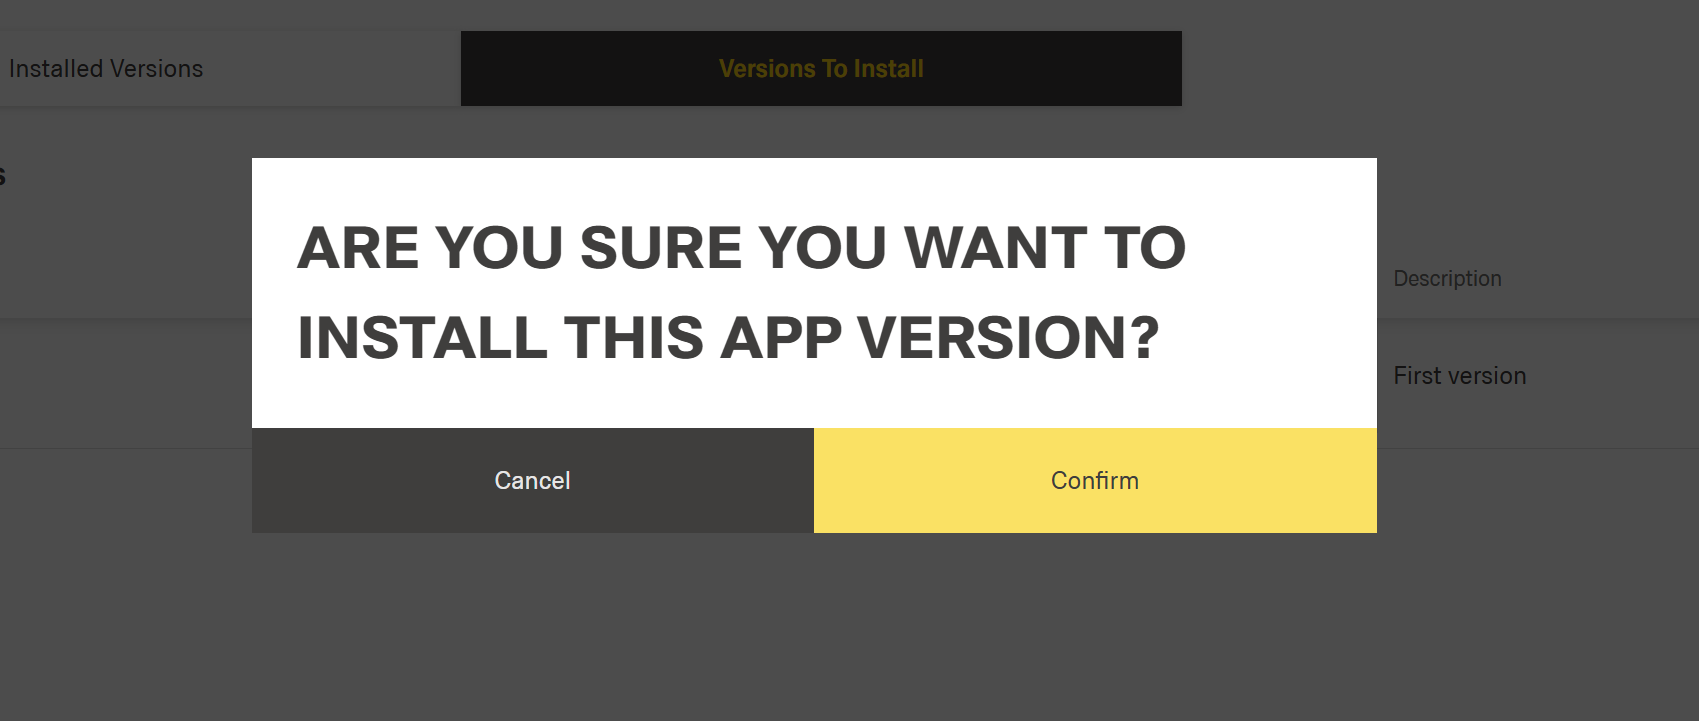
When action is completed, version is installed and appears in Installed Versions table. In example below, version flagged with Released as 1 can be safely deleted (to get rid of redundancy), because its officially released version was just installed.
If app is not yet installed on the namespace, go to App Store section in app management, select app and version to install and click Install Version action:
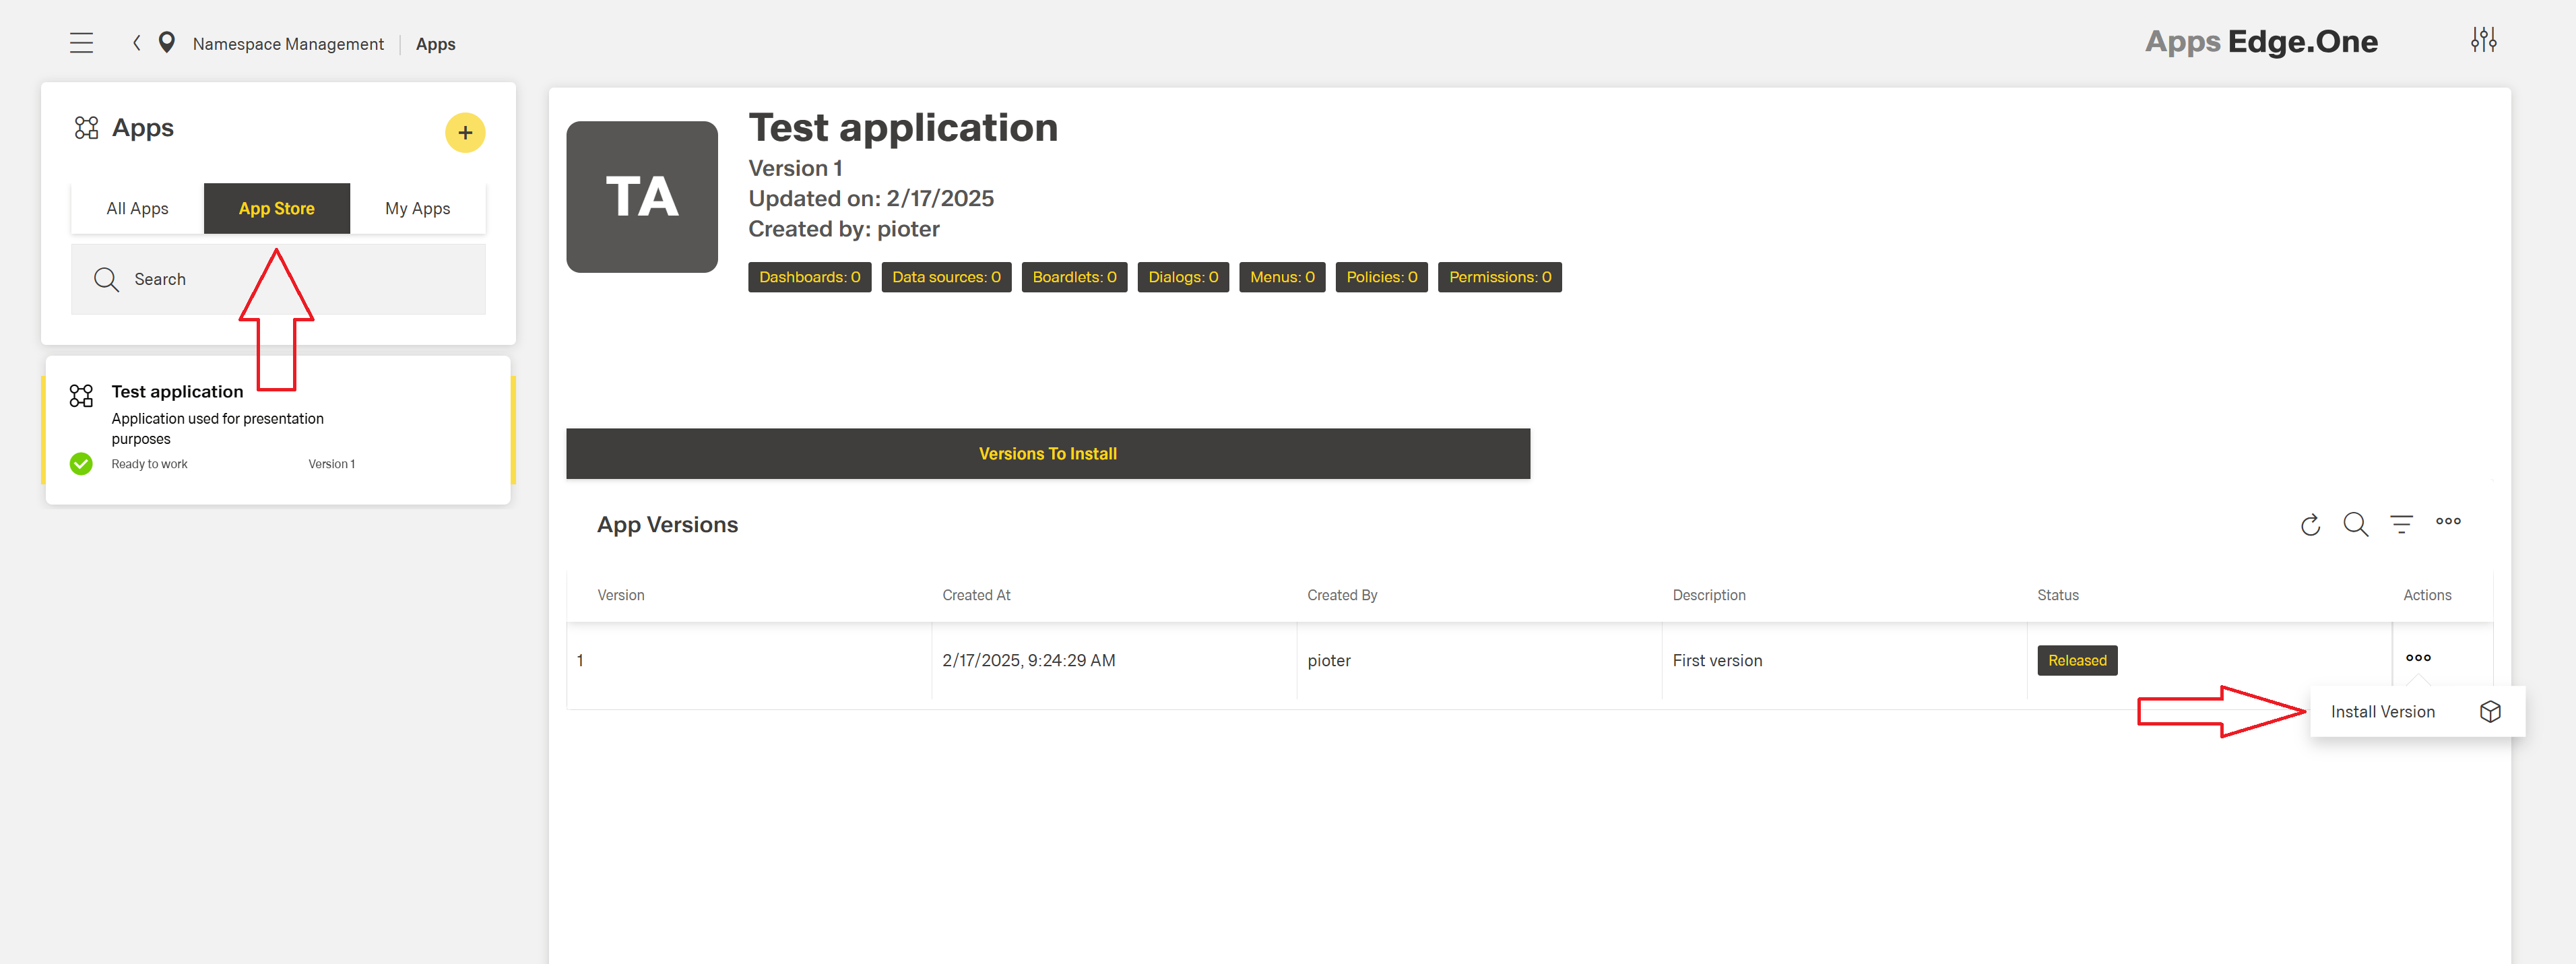
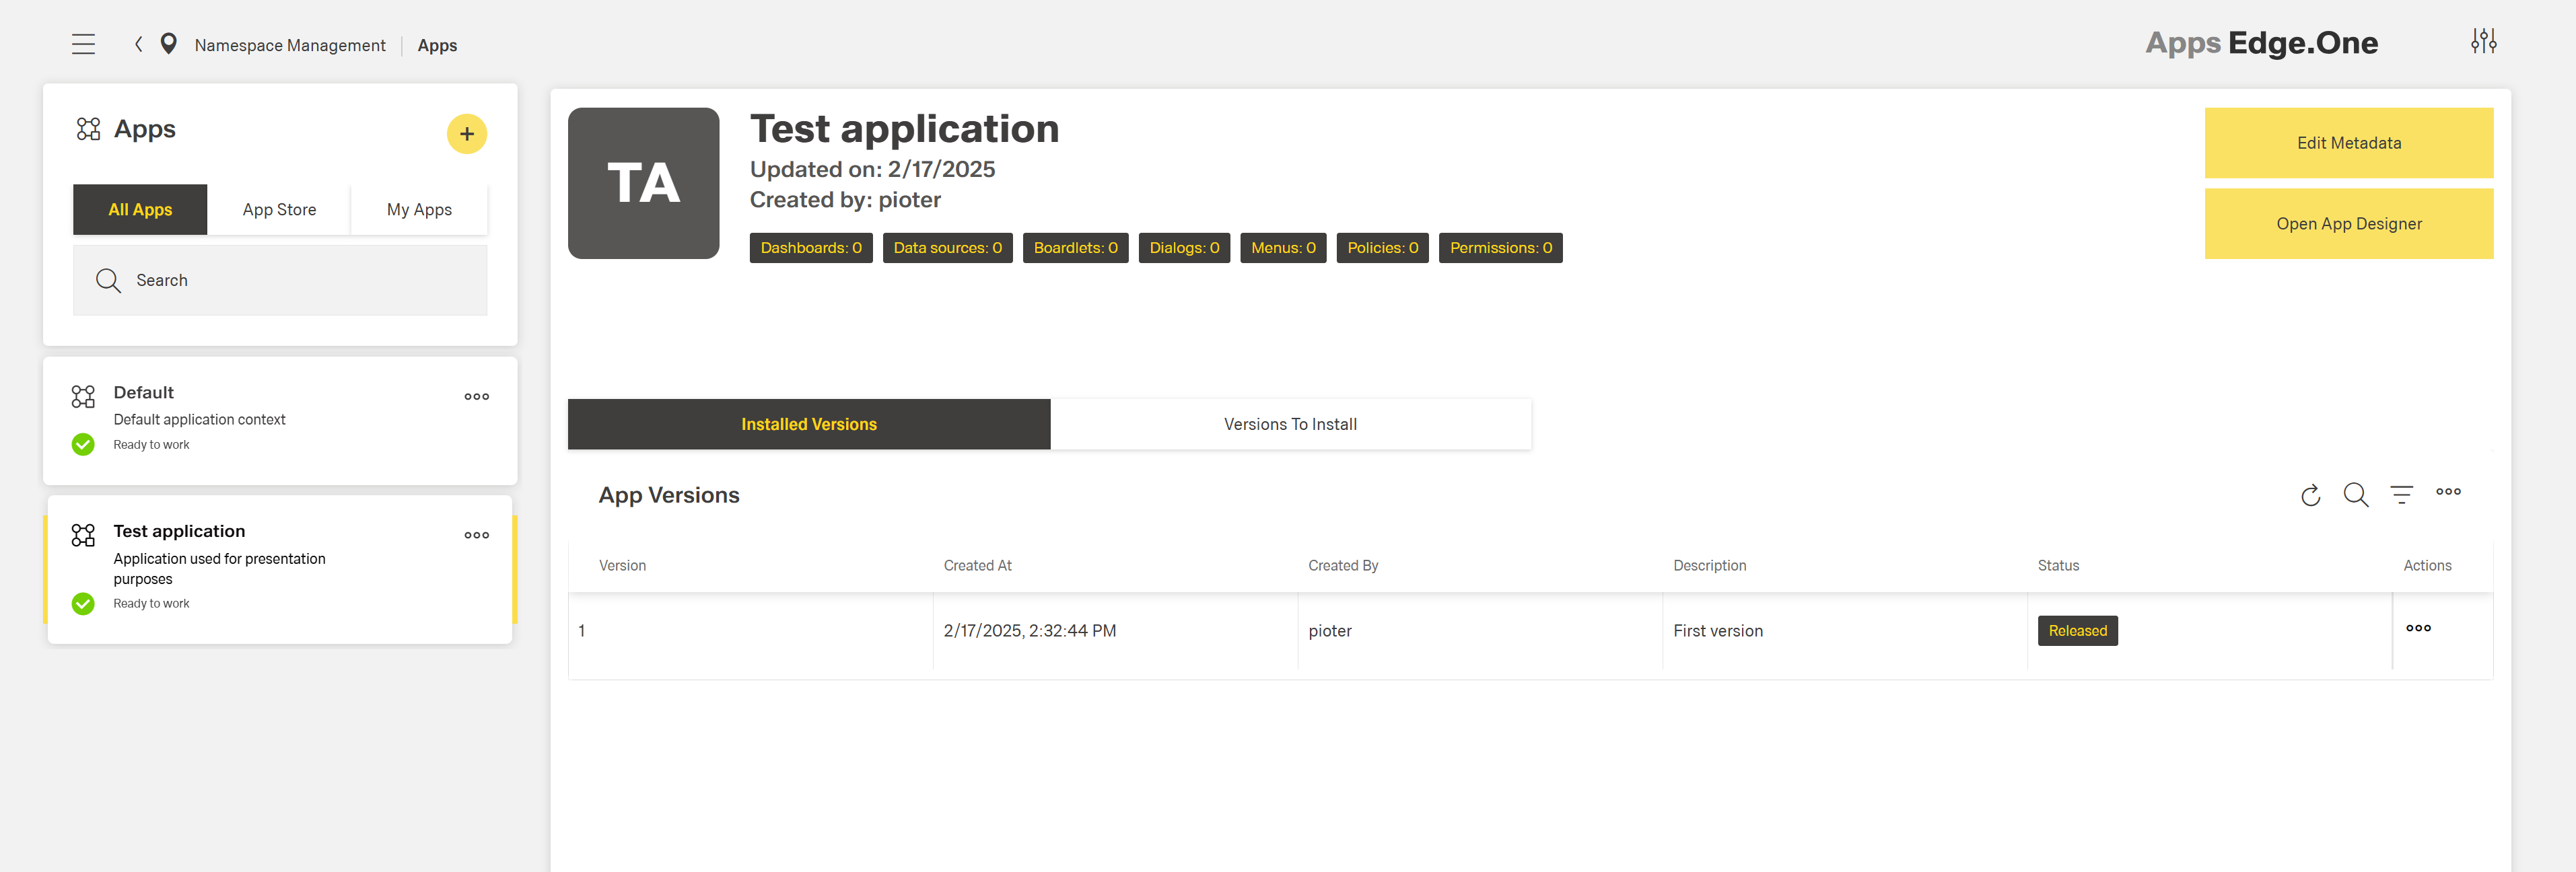
When action is completed, app and version is installed. Installed app will disappear from App Store section. To install other app versions, just go to Versions to Install table and proceed as instructed above.
WARNING
Installing app version does not mean that this version will be set as live. To set installed version as live, just click Restore Version action on specific app version (as described in Restore App Version section)
App Release Log
To check app's release history (release candidates submissions, approves and rejections), go to Release log table in App Store's app management:

App Installations
In order to view namespaces where a specific app is installed, go to Installations table in App Store's app management:
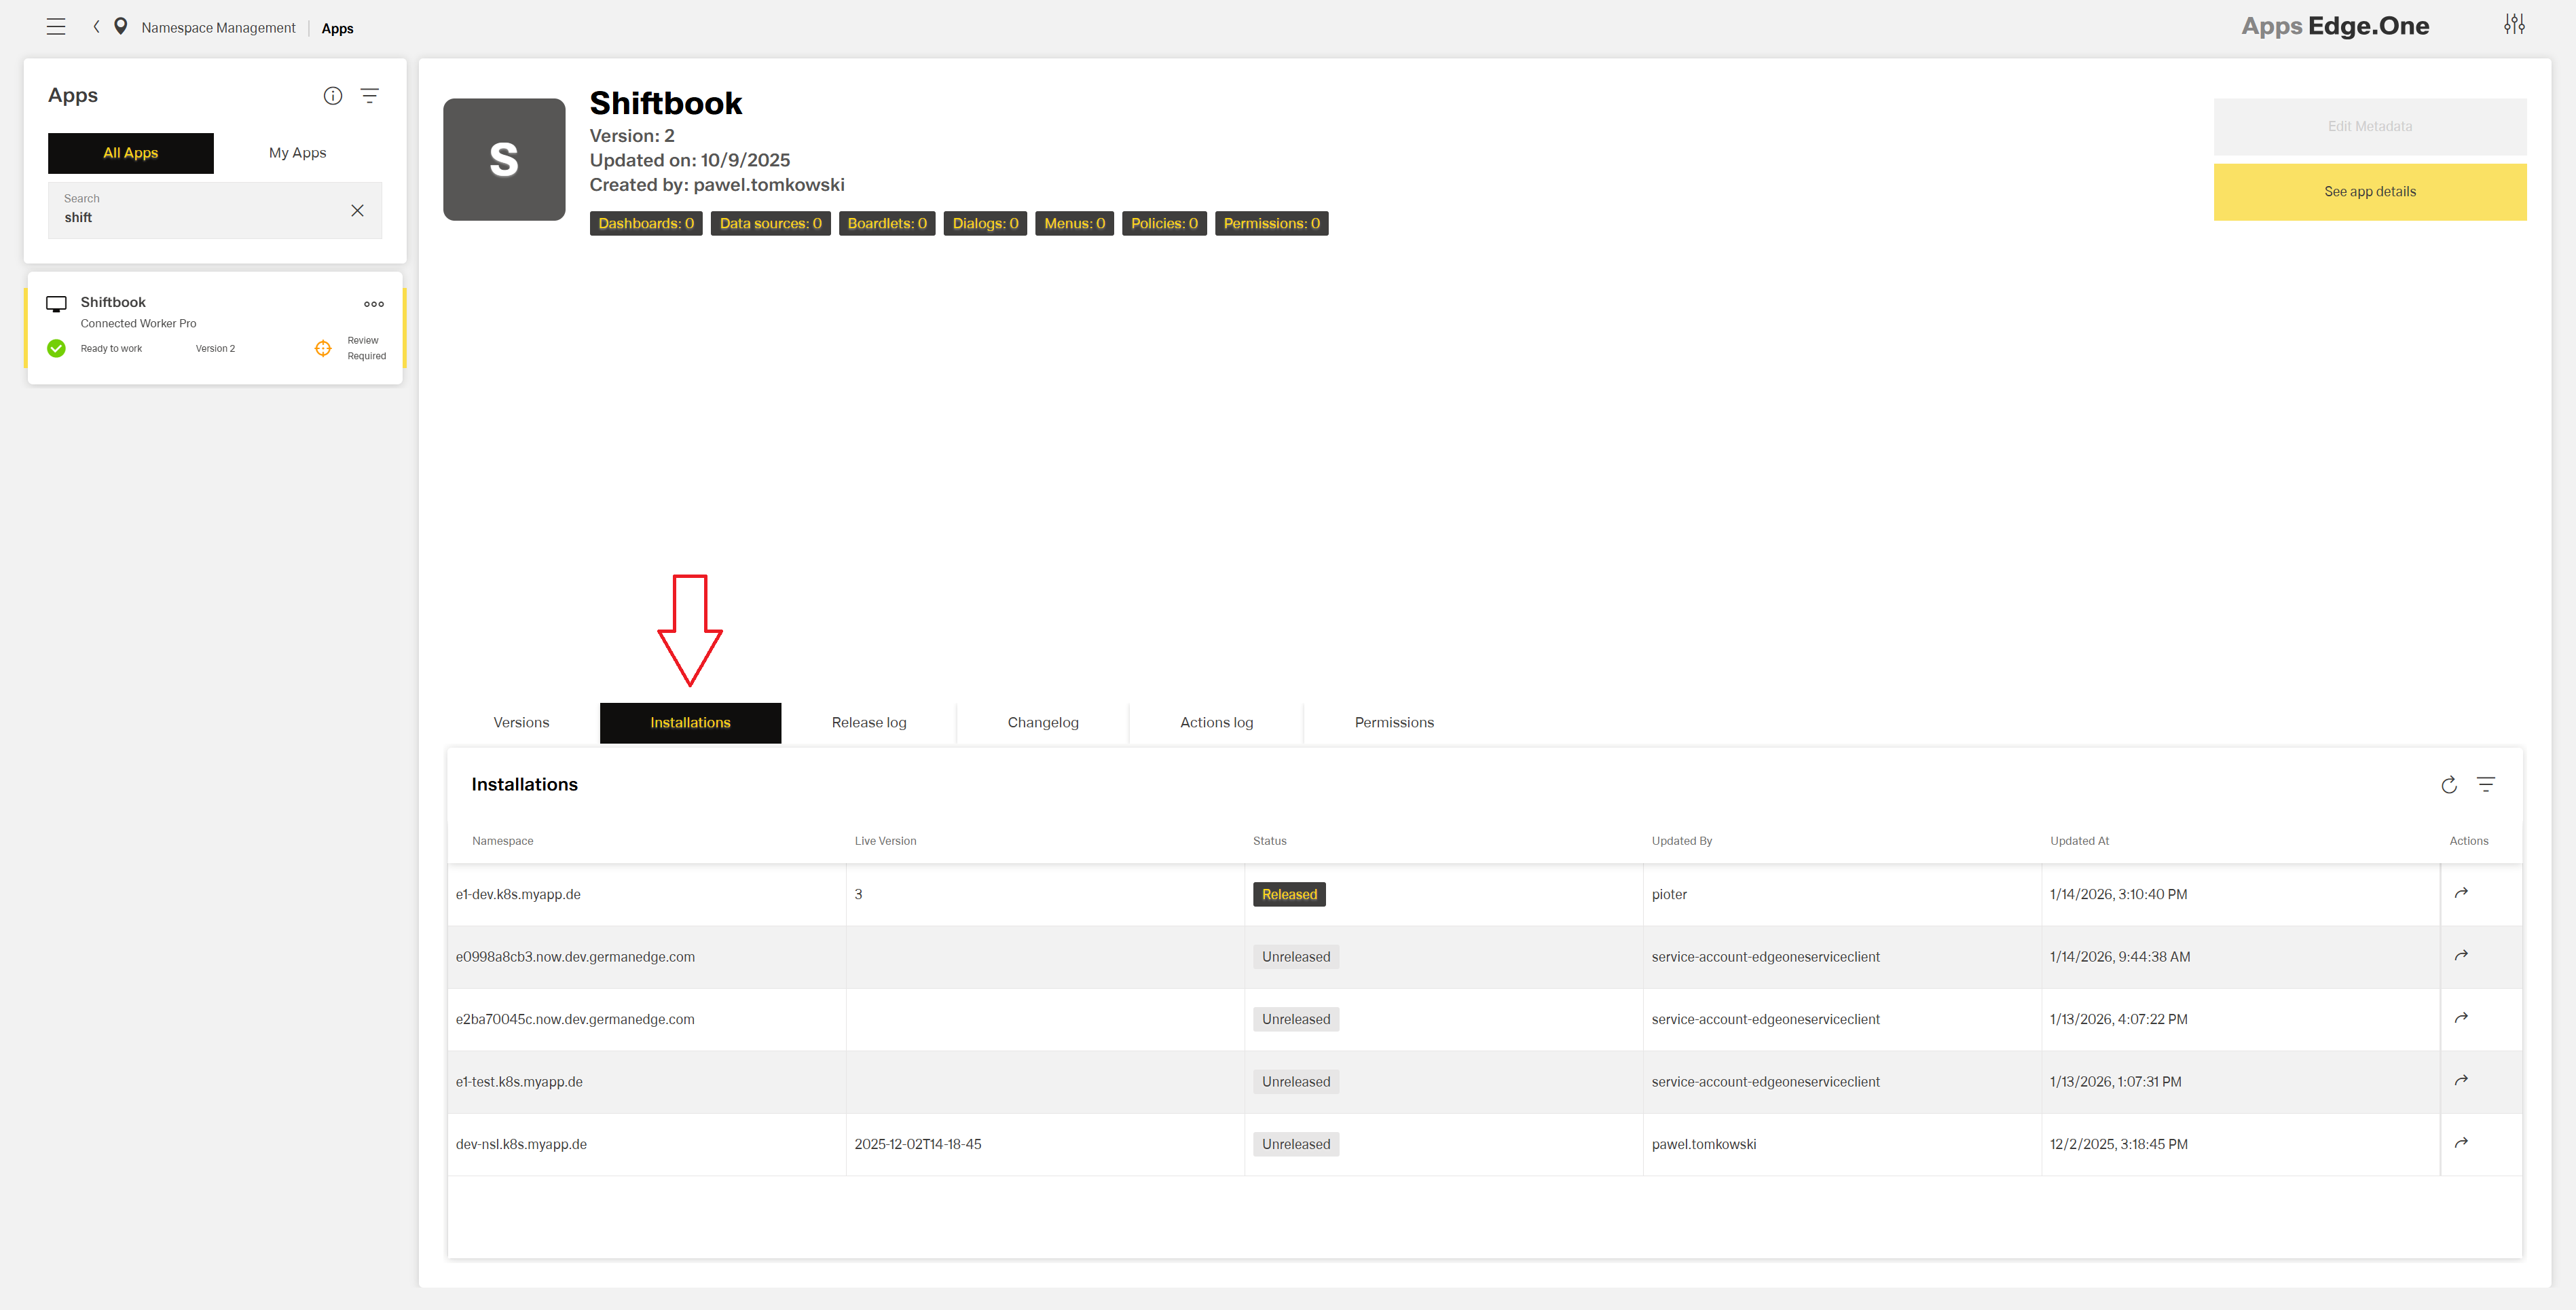
Each row in the Installations table represents one namespace where the app is installed and includes the following information:
- Namespace - the namespace where the app is installed.
- Live version - the currently active version of the app. If the live version cannot be determined, this field is empty.
- Status - the release status of the live version:
Unreleased- a locally deployed version.Released- a version installed from the App Store.
- Audit information - who installed the app version and when it was installed.
For each installation, you can perform the following action:
- Go to namespace - opens the namespace where the app is installed.
WARNING
Only namespaces running upw service version 4.86.0 or later are displayed in the Installations table.
Manage Permissions
This section explains how to manage authorization for app-specific operations in the App Store.
To configure permissions for an app, go to Permissions table in App Store's app management:

Permissions are assigned to user sets (policy sets) configured in the namespace management.
Each user set is displayed as a column in the Permissions table.
The following permissions can be managed for each user set:
Edit permissions - allows the user set to access the Permissions table and manage permissions.
Default: assigned to the App Composer Admins user set.Restore version - allows the user set to use the Restore version action for app versions.
Default: assigned to the App Composer Admins user set.Manage release process - allows the user set to use the Approve version and Reject version actions for release candidates.
Default: not assigned to any user set. To manage the release process for a newly published app, this permission must be assigned manually.
After modifying permissions, click the Save icon in the table header to apply your changes.